Step-by-step guide on how to create the prettiest DIY radiator covers
Radiators. Argh. Especially in older houses, they are usually visible and … ugly. I know, there are beautiful radiators out there that are worth looking at. If you own one, lucky you. If you don’t, welcome to the club and congratulations on your ugly radiators! 😉 In this blogpost, you will learn how to build the most beautiful radiator covers.
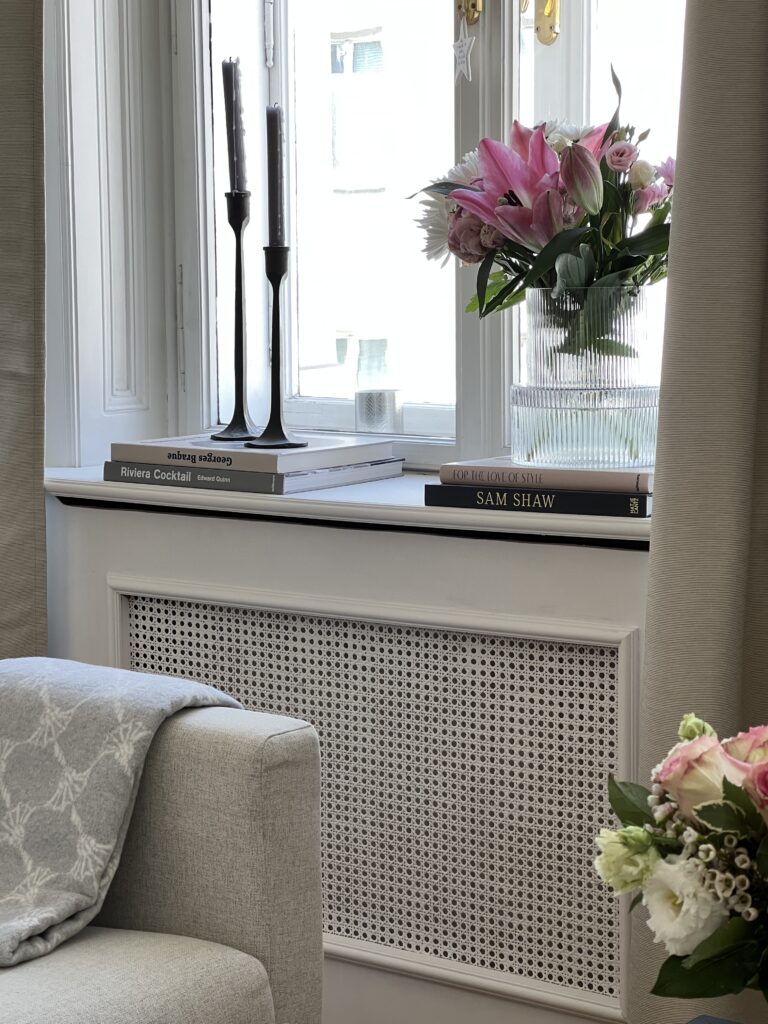
Besides these charming characteristics, my radiators also took up all the space under the windows, leaving me without any window sills. Something I was always sad about, as I have always looked forward to decorating window sills with candles, books, and flowers.
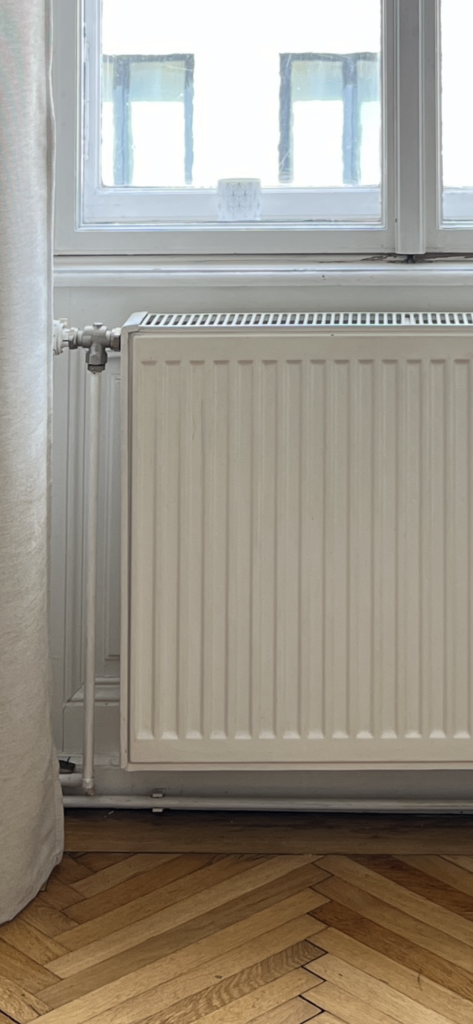
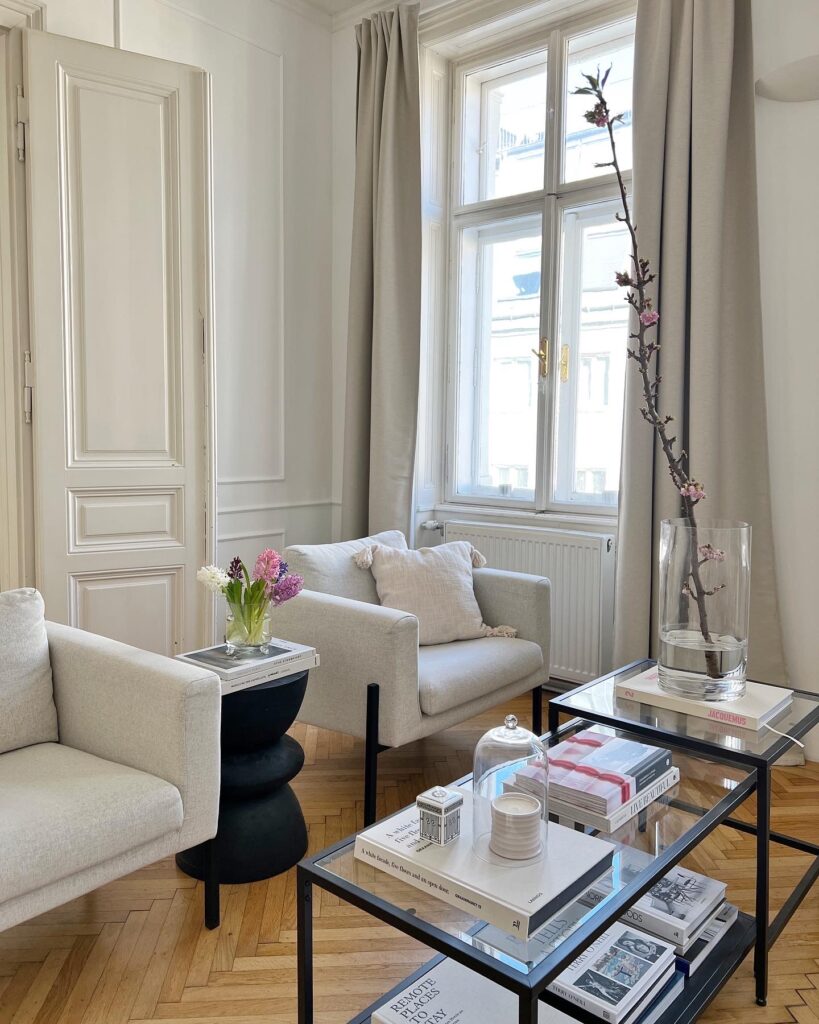
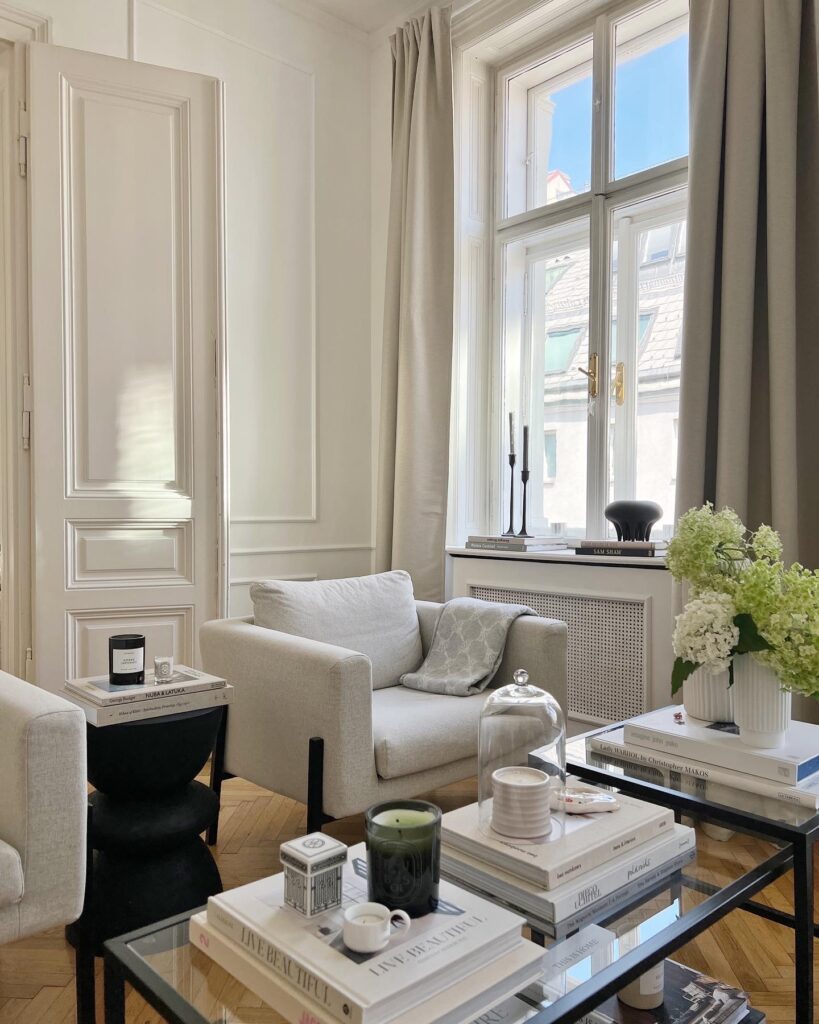
But there’s always a solution to a problem, right? I remember that I’ve been fascinated and in love with beautiful radiator covers since forever, so I dug deep into that topic and researched everything I needed to know for my own radiator cover DIY. I learned all about the possible materials, the obligatory openings for the heat to circulate properly, designs, attachments, and much more, which I’ll share with you below to make your DIY much easier.
This step-by-step guide shows how I did my own radiator covers in only one day.
As always, please note that this is a DIY I made for myself, fitted to my needs and local circumstances. If you are not sure about the project, always speak to a professional craftsman. The following guide is without any guarantee and might not work in every project. Have a second person help you with this project and I guarantee you it’ll be much more fun and easier.
For this DIY you need the following products:
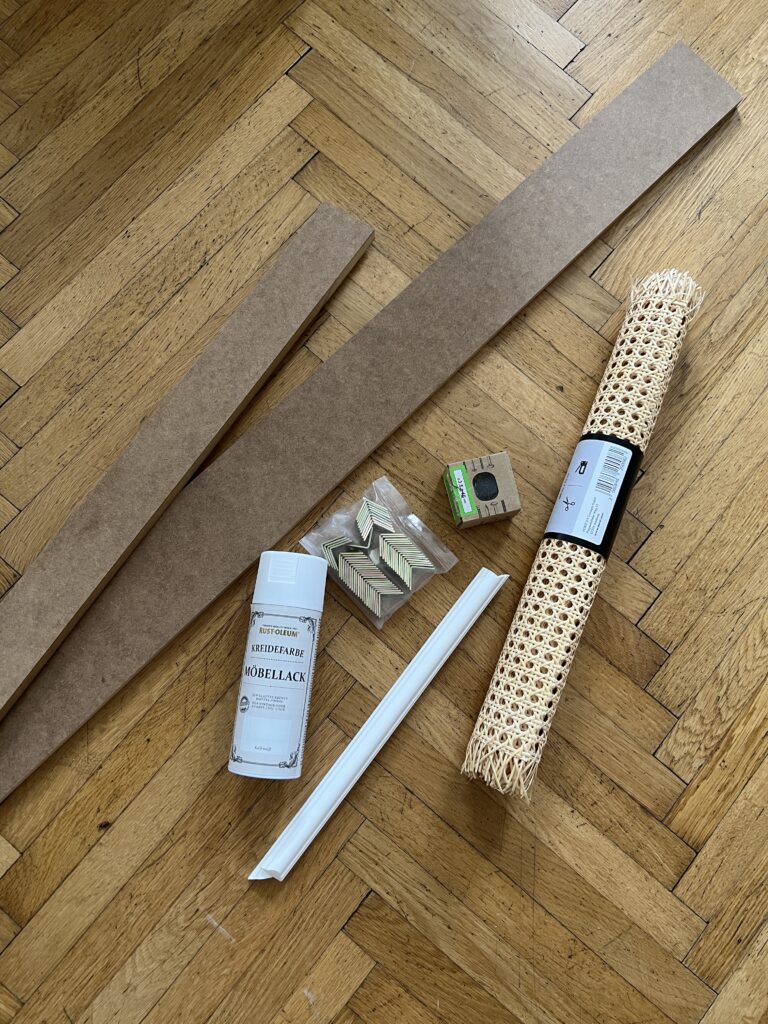
- MDF wood with a flat surface (easiest to have cut to size in your nearest hardware store)
- Viennese braid; in my case with a minimum height of 60cm (or something similar, can also be a stiff board with holes, etc.)
- Wall mouldings and glue (I used „flat“ ones and special ones for corners – this is dependant on your wishes)
- Jigsaw (or a hardware store that can make the cut-outs depending on your wishes) – only use a jigsaw if you’re familiar with it and always wear protective clothing
- Staple (linked at the end of the blogpost)
- Spray bottle for water (ideally)
- Cutter knife
- Drilling machine, screws, brackets, hooks
- Paint to colour the radiator covers after you are finished
How To Build The Most Beautiful Radiator Covers:
Step 1:
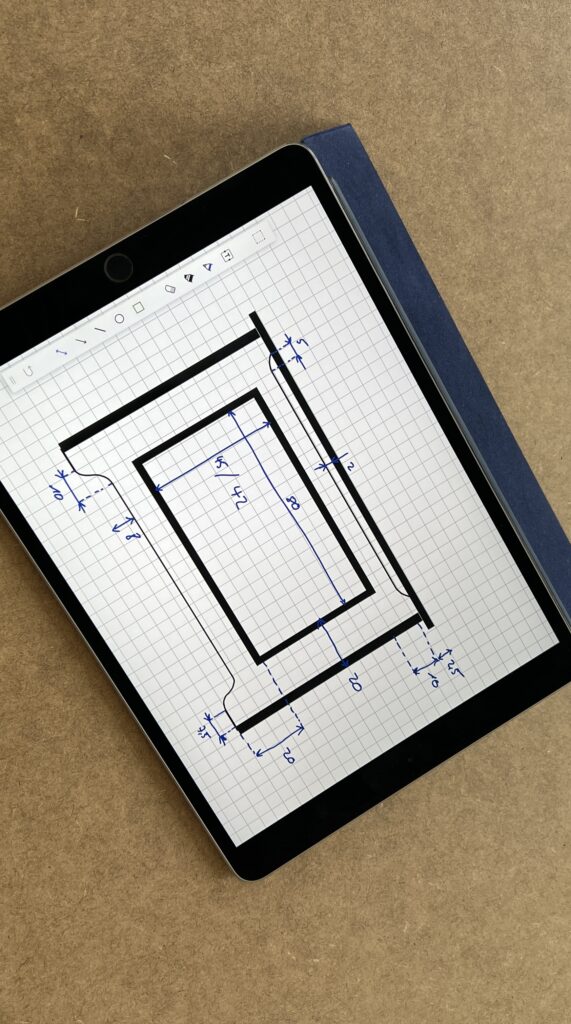
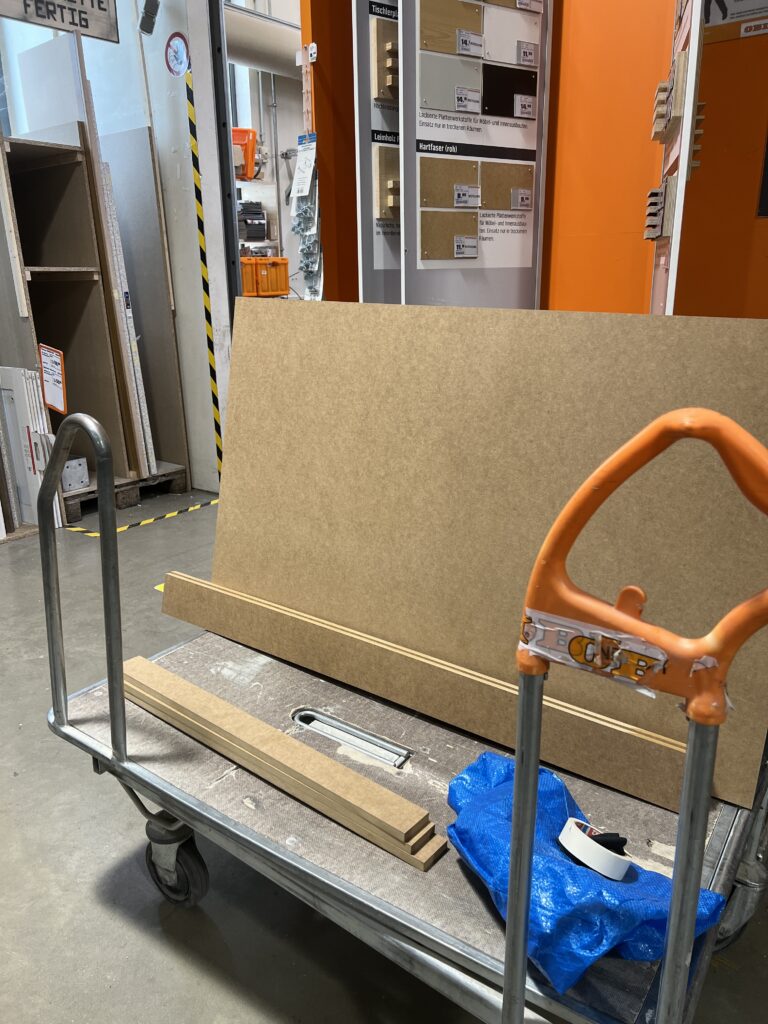
Measure how large your radiator covers should be (height and length as well as the depth – make sure you leave enough space to the radiator so that no material touches the radiator!) and have four MDF wood pieces cut to size for every radiator cover (1x front board, 2x side boards/legs, 1x top/window sill). Make sure to use MDF wood that has no structure and is ready to be painted. Also have the top/window sill board a little larger so it looks like an actual window sill!
Step 2:
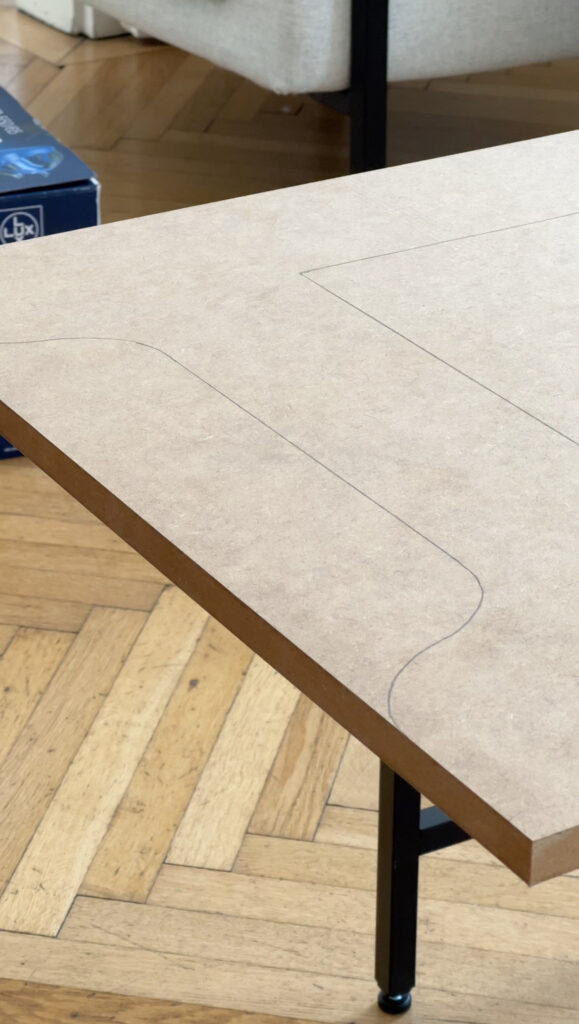
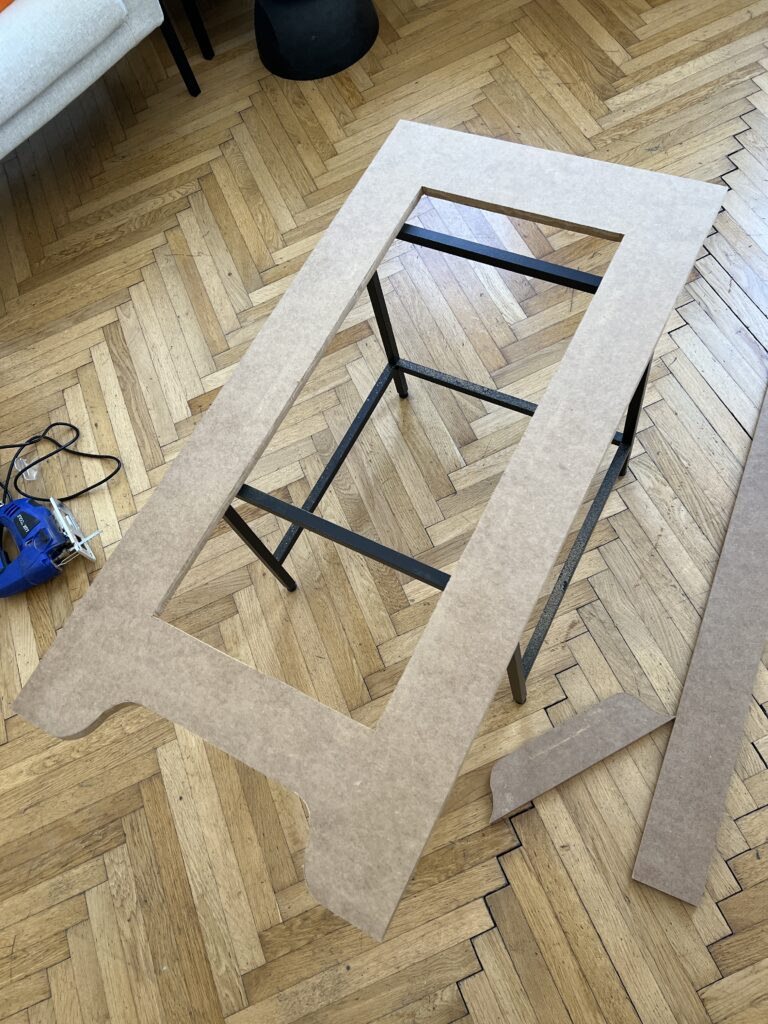
Cut out a rectangle in the middle of the front board so that there is enough space for the heat to come through. This is where you will place the Viennese braid. Make sure to draw the area you want to cut out onto the MDF board so you make the right (and straight) cuts. Ideally, have this cut in your nearest hardware store.
Step 3:
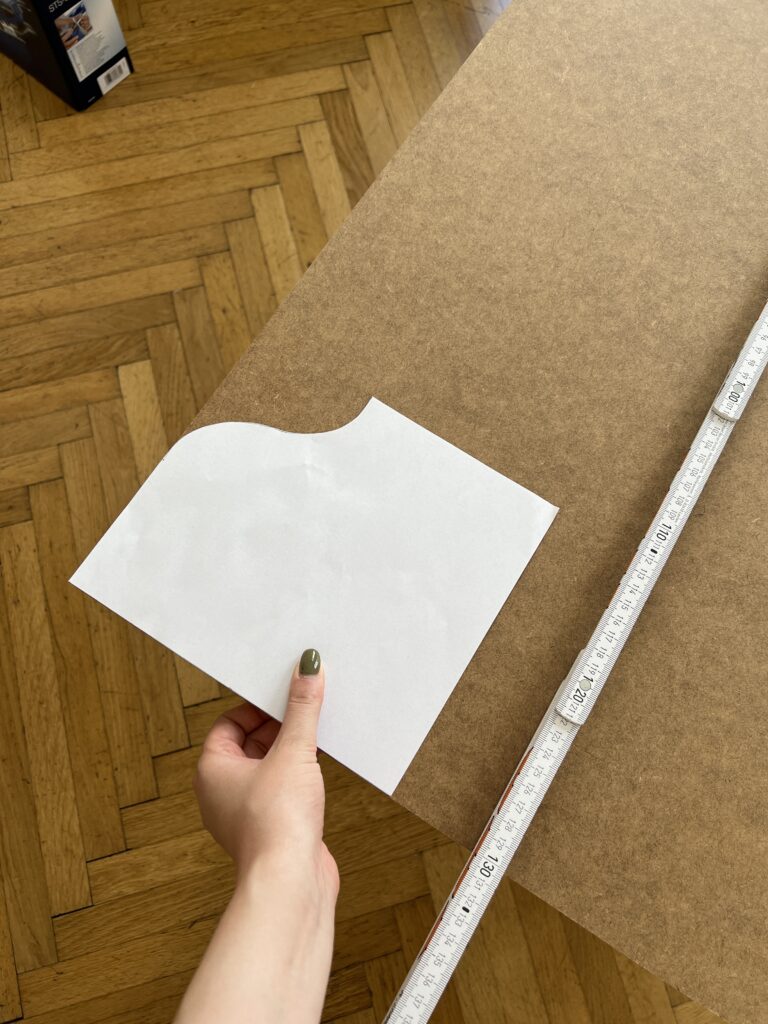
Make the cut-outs at the top and bottom on the front board to ensure the heat to flow easily. For this, I used the jigsaw as I wanted half-round shapes and my hardware store could only cut rectangular shapes. The shape you use here depends on your own preferences, however, due to the historic building I live in, I wanted the radiator covers to fit the style of the house.
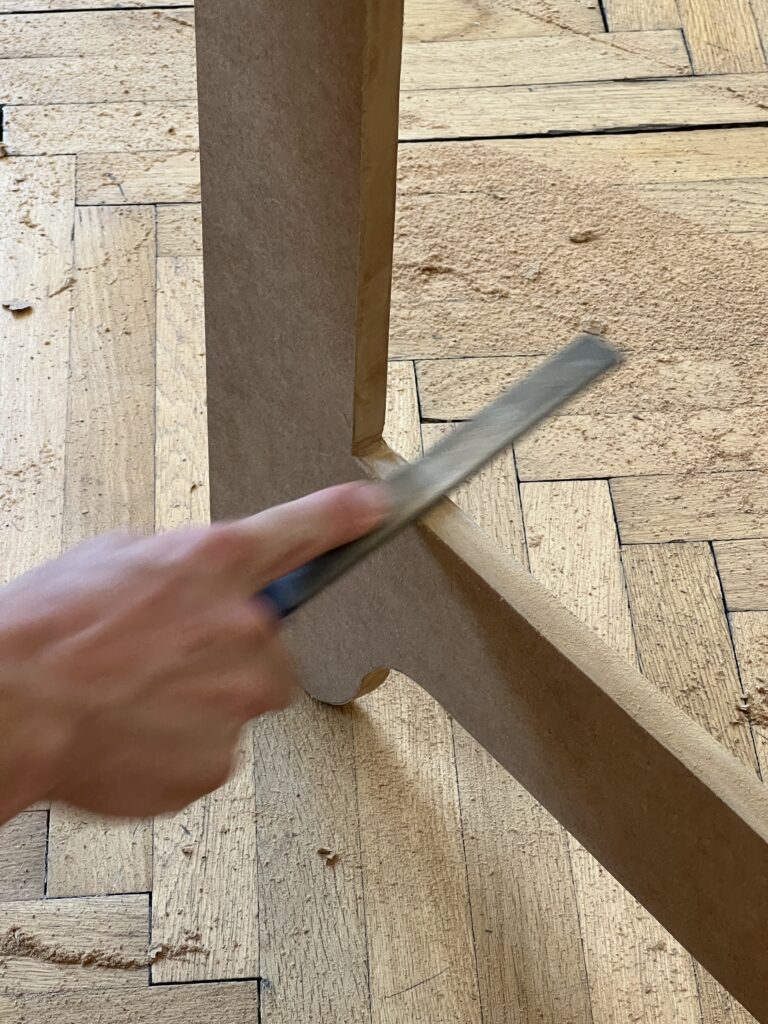
Step 4:
Cut to size your Viennese braid. The Viennese braid goes into the large rectangle that’s cut out in the middle of the front board. Make sure to leave a margin of around 5-10cm on every side.
Step 5:
This is VERY important! With a spray bottle, wetten the Viennese braid (not too much but it should be fully covered and soaked). Leave for 20-30 minutes. You’ll see that the Viennese braid will lie flat and change its shape a little bit. It will be much softer and easier to install. Additionally, the Viennese braid „widens“ when wet; so when it fully dries on the radiator covers, it will tighten, leaving us with the finish we want.
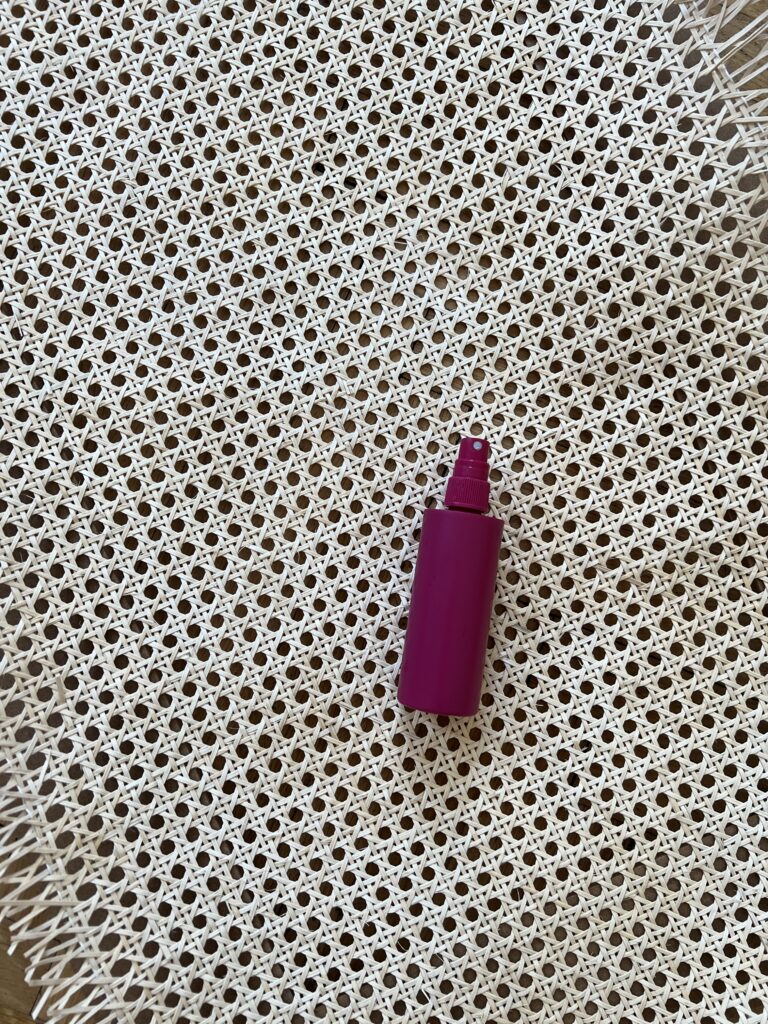
Step 6:
After leaving the Viennese braid wet for around 20-30 minutes, it’s time to attach the Viennese braid to the front board. Place the front board with it’s previously prepared cut-outs flat on the floor so that the outside of the board faces the floor. Place the Viennese braid on the inside of the front board, pull it very tight and secure with the staples. Make sure to not only secure one side at once! Use 1-2 staples on each side so the Viennese braid is evenly distributed and then secure with as many staples as needed. Make sure the Viennese braid is tight! This is easier with the help of 1-2 people. Put aside and let it dry.
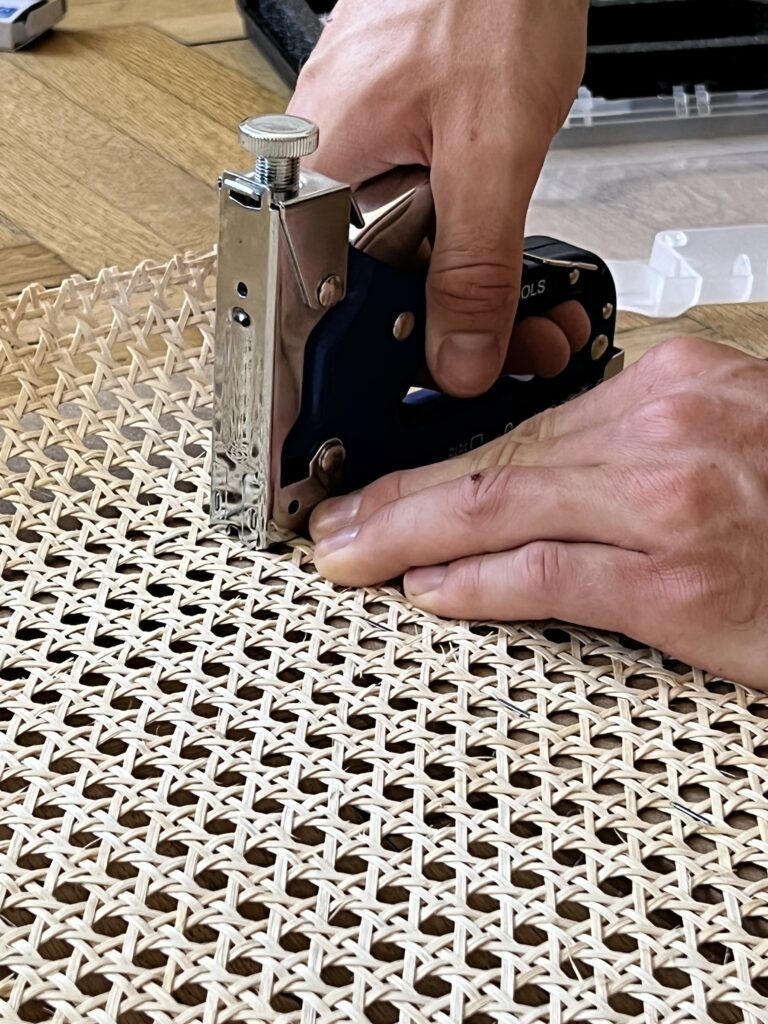
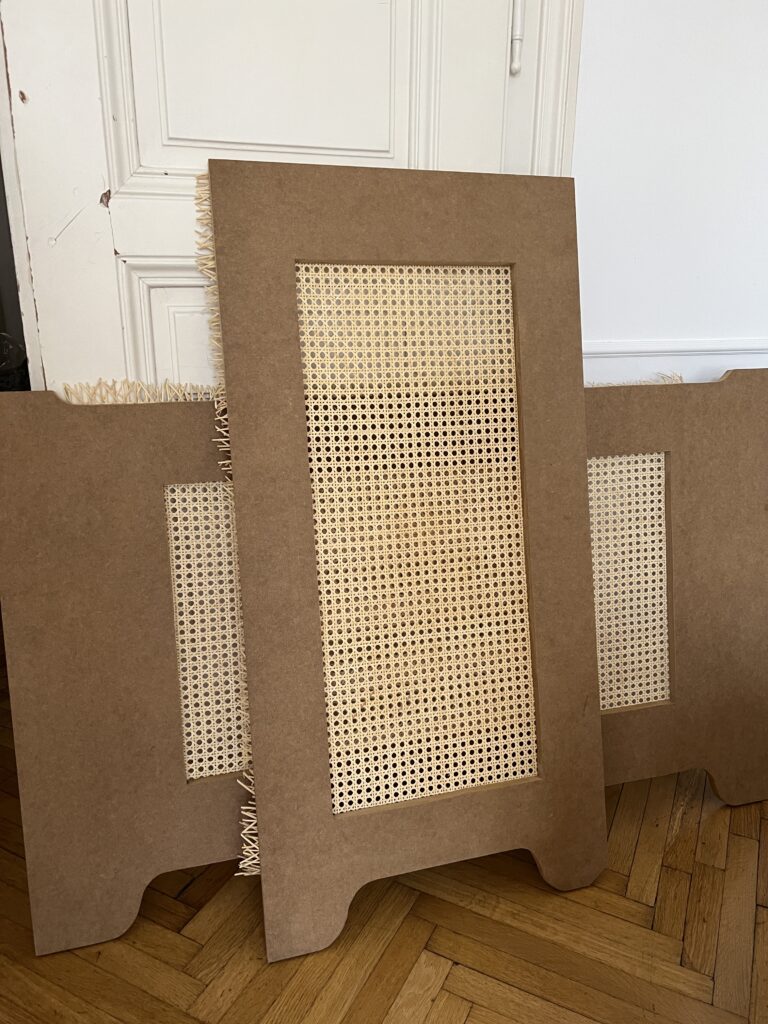
Step 7:
After the Viennese braid has dried (it should be nice and tight), you can remove the extra margin of 5-10cm with a cutter knife. Make sure that you leave a little bit of space to the staples so that you don’t cut the Viennese braid open.
Step 8:
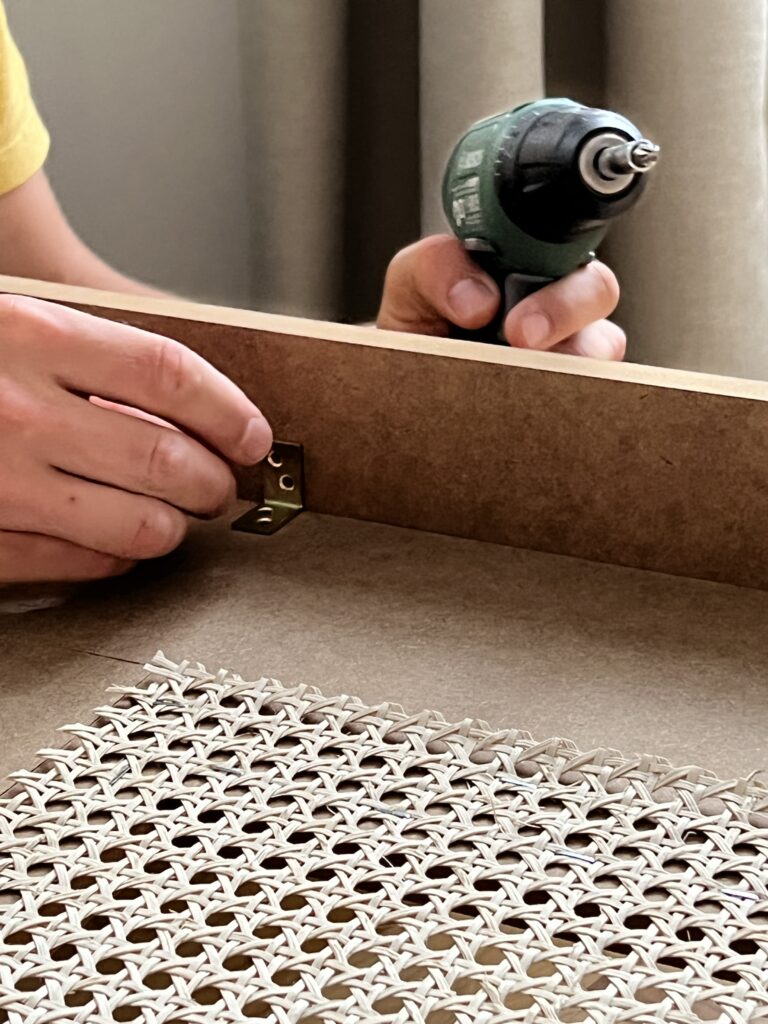
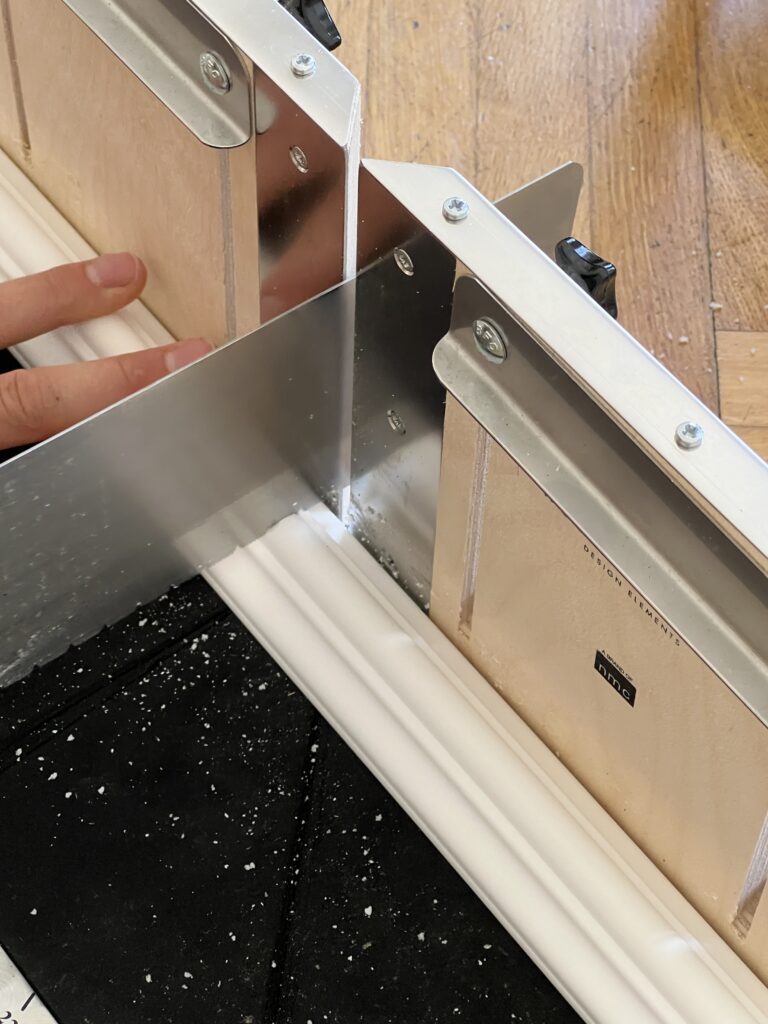
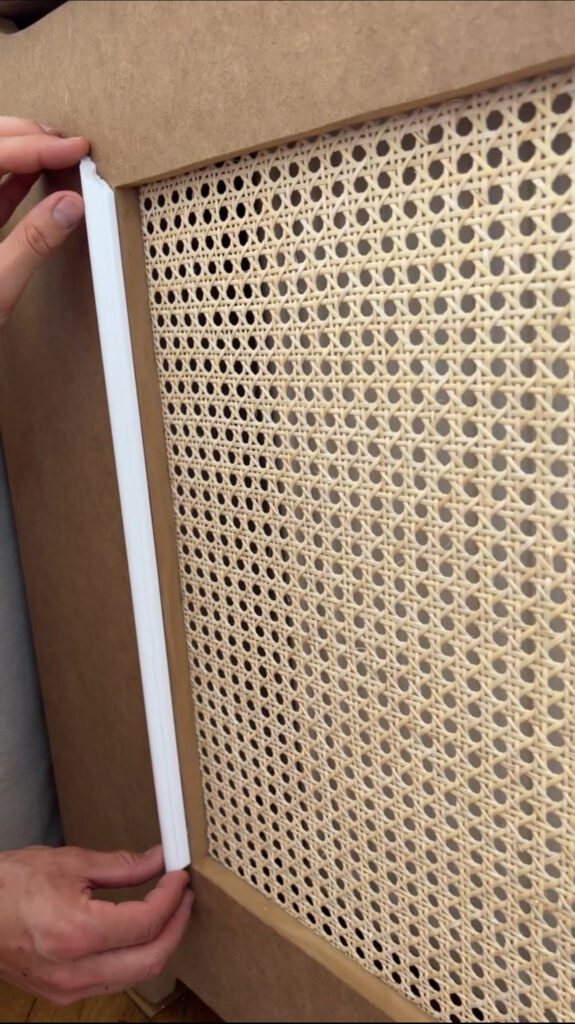
Attach the side boards/legs with brackets and screws, as well as the top board/window sill. Make sure to use screws that do not go through the wood (use small screws so you don’t see the screws on the outside). Alternatively, you can use wall mouldings for corners to cover up any visible instalments. Additionally to the corner wall mouldings, I have also used „flat“ wall mouldings around the Viennese braid and on the window sill. These, I have attached with normal glue from the wall moulding company.
Step 9:
Make sure the radiator cover is secured to the wall and cannot fall over! For this, I used hooks. I installed a mounting on the wall, placed the hooks on the inside of the radiator covers and was therefore able to „hang“ the radiator covers on the walls, making it impossible for them to fall. With this, you can easily remove the radiator covers if you need to reach the radiator underneath. Please note that I have a central heating system and do not need to reach the radiators if I want to turn them on – this might be something to consider if you’re planning on creating radiator covers too.
Step 10:
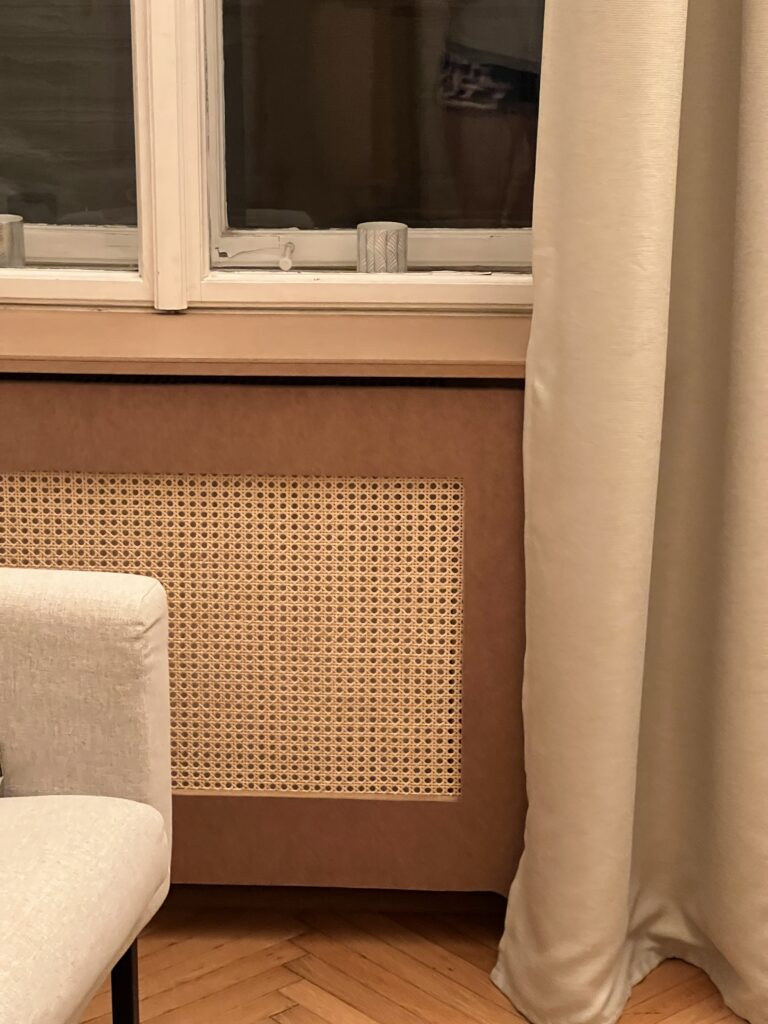
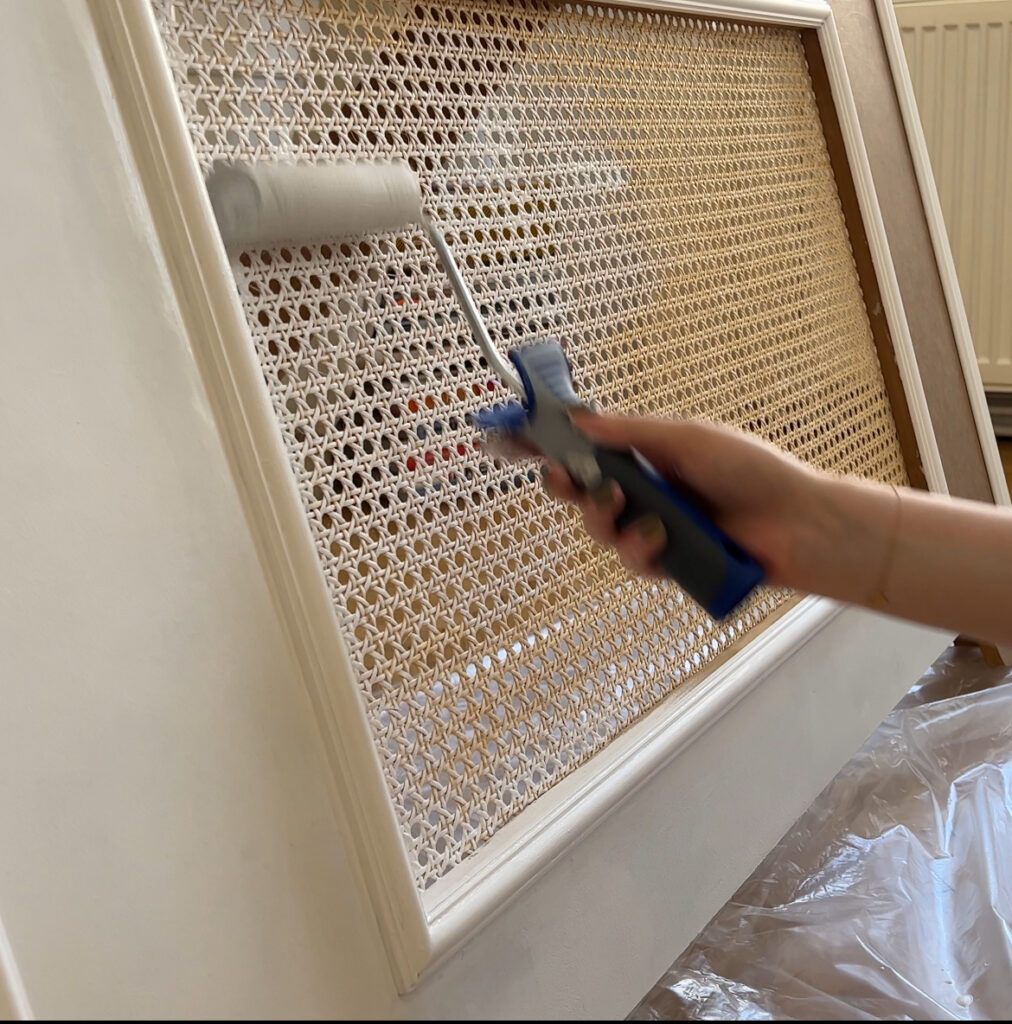
Paint the radiator covers including the Viennese braid in a colour of your choice. Ideally, the paint is heat resistant, although the radiator covers are not allowed to be too close to the radiators. Let dry, secure to the walls and enjoy decorating!
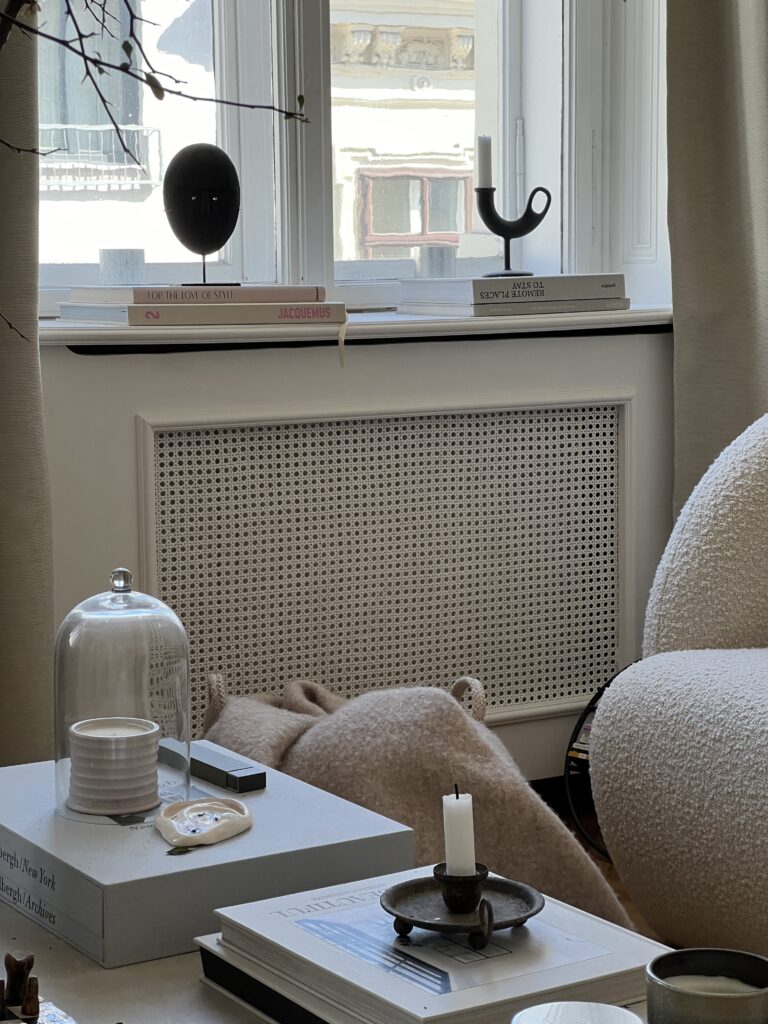
These radiator covers brought me an endless amount of joy and have always been something our guests speak about when visiting! With them, I simply turned a hated space into the cosiest, prettiest, and favourite space I love seeing and showing.
Further information worth knowing:
Ideally, add cut-outs on the top board/window sill too. This ensures that the heat from the radiator can escape the radiator covers and move into the room. It is essential that you also have cut-outs at the bottom and top of the front board for air circulation. Please make sure how hot your radiators turn and consider if this project is safe for you.
Products:
- MDF wood: nearest hardware store
- Wall moulding: Noel & Marquet
- Viennese braid: HORST DIY
Disclaimer: Not a professional, this is only for educational purposes. No guarantee, no professional recommendation. Just a documentation how I did this. Not sponsored.

