Project Overview of a One-Of-A-Kind Interior Design
Finally! Project Greenwood is finished and ready to be shown. If you’re following along my social media channels (@interiorbygini), you might have been lucky and received some peeks of this extraordinary project already, which has also been nominated for the Best of Interior Design Award 2024 in Germany. Scroll down to see the after photos!
This has definitely been one of my favorite interior design projects so far, as I was able to truly bring my visions to life while working with some extreme challenges (which is always fun in interior design, lol). Anyways, you can find some before shots below. Please don’t faint! I know, the before looks kinda horrendous, however, in this case, a project is usually even more fun. But let’s dive into the details of Project Greenwood:
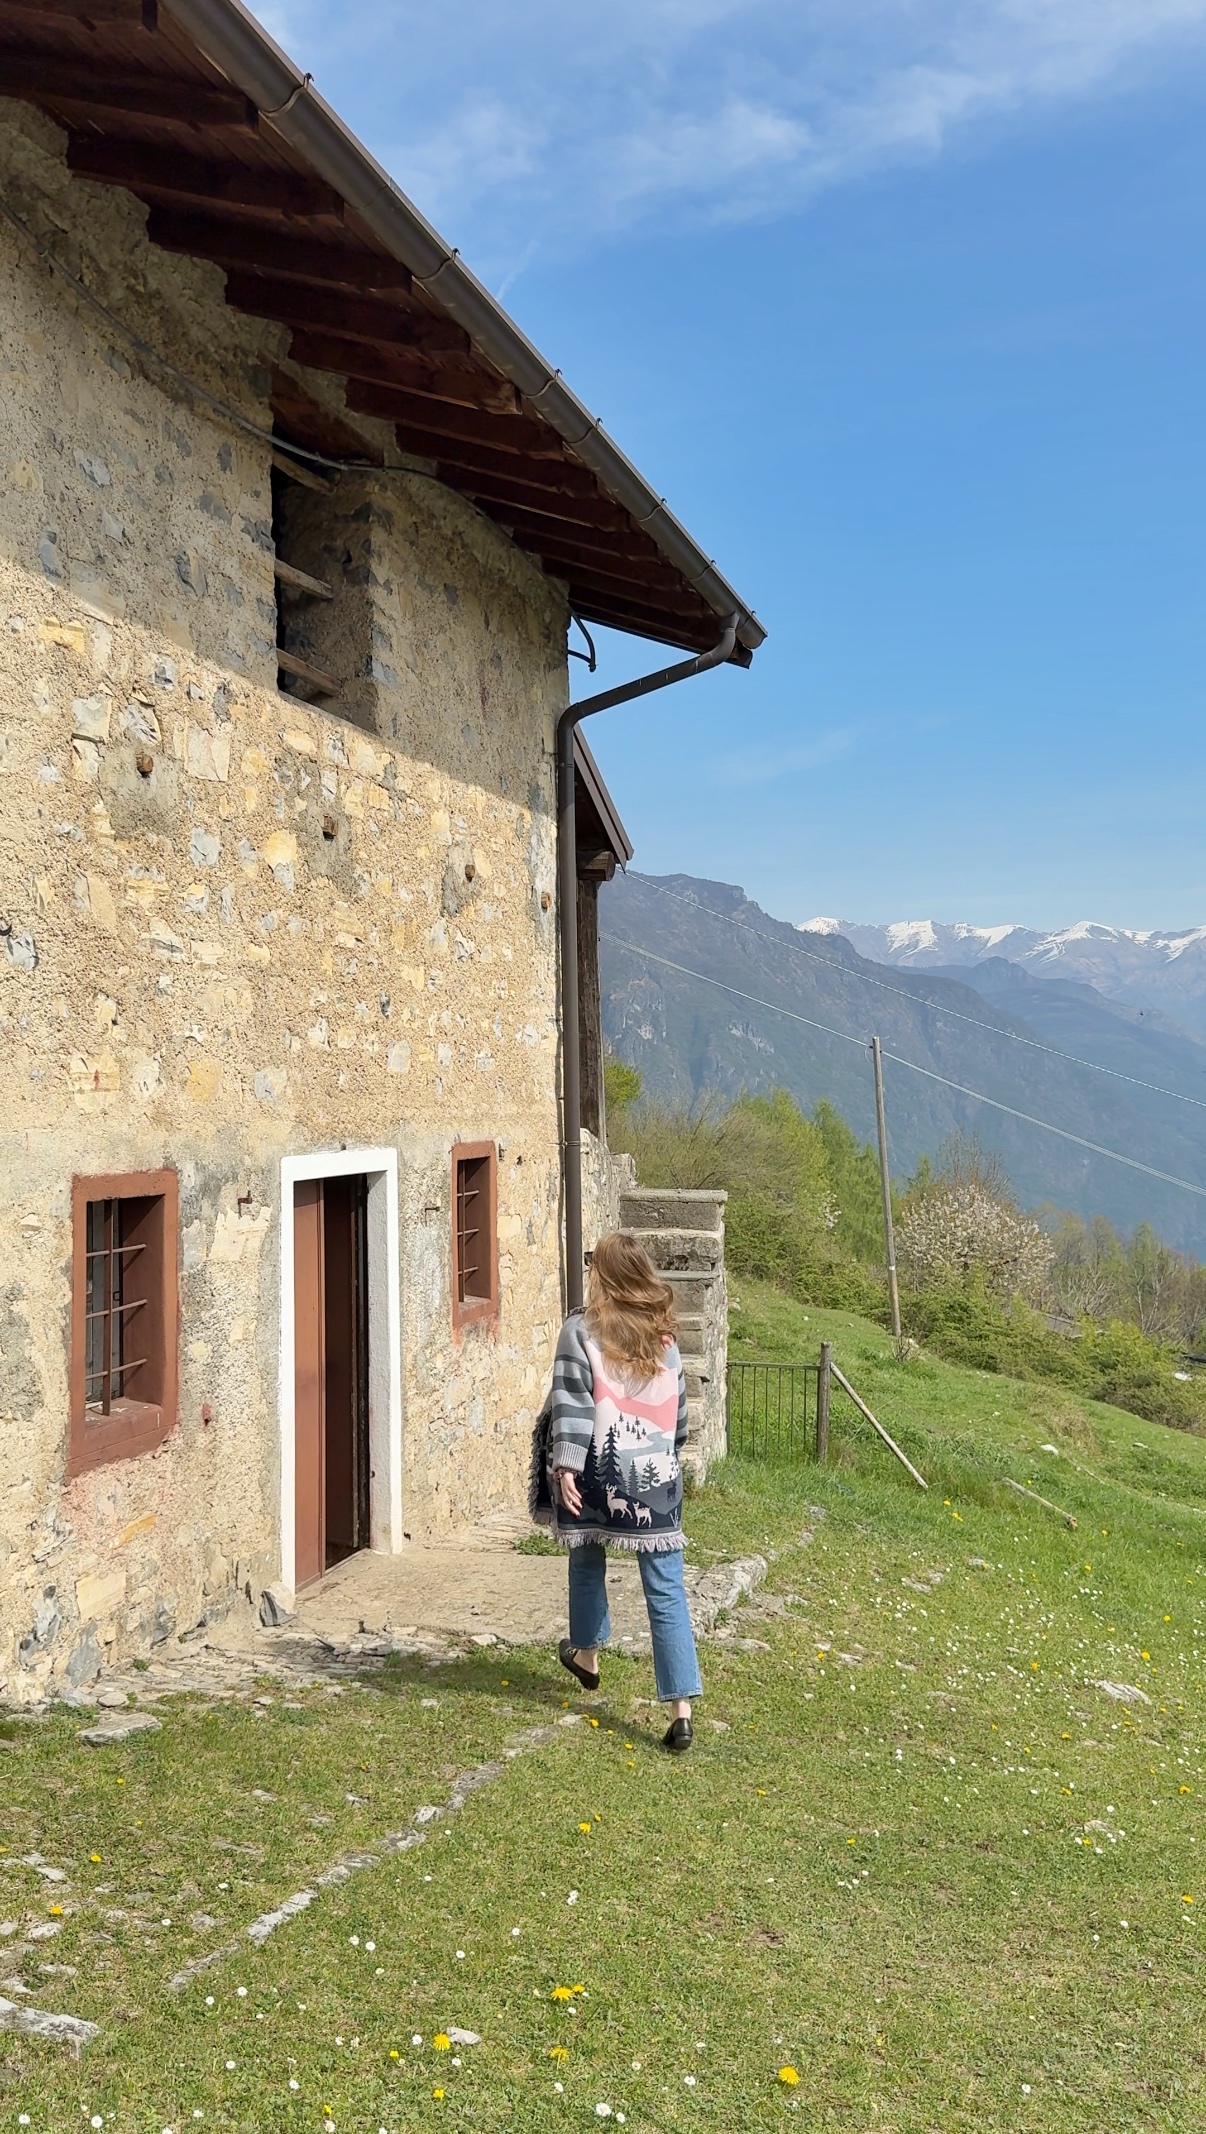
Project Greenwood is located in Southern Germany (Bavaria) at the border of Austria. As part of an old building, a more modern annex from the early 2000’s was renovated. The goal was not to change the floor plan (at least not drastically), and work with the given infrastructure as much as possible. Furthermore, the wooden ceiling needed to be kept, as well as the floor was pre-selected.
Project Details:
- Location: Southern Germany
- Size: approx. 80m2, 2 guest rooms with bathrooms & a corridor
- Renovation goal: work with what’s already existing, no major floorpan or infrastructure changes
- Interior design goal: create a natural countryside sanctuary working with natural elements to fit into the nature surrounding the project
- Interior design style: Modern organic with a mix of modern farmhouse, Wabi Sabi elements, and Japandi
- Start: April 2024
- Finish: December 2024/January 2025
How it started
Now you might be curious to see the “before”. But before we take a look at the horrendous before photos, let me give you some quick info on what was awaiting me at Project Greenwood so you have a better overview of how my starting point looked like.
Two guest rooms with a corridor in front of them were supposed to be renovated. Furthermore, there were four separate, tiny toilet cabins located behind a wall next to one of the guest rooms which were also supposed to be renovated. As these four single lavatories were looking absolutely disgusting, and were useless, we had to figure out how to renovate them in a useful and sensible way… But let’s take a look at the before, shall we?


As you can see, a lot of work was waiting. Besides getting rid of the yellow (and very stained) carpet, as well as all the furniture, I was also left with extremely high ceilings (up to 5m) and lots of empty walls. Additionally, the wooden ceiling was also a challenge to include in the designs, as the tone of wood simply didn’t work with the style direction we wanted to move forward with.
Furthermore, since it were two guest rooms, it would have been ideal if these rooms also have access to bathrooms. Although we tried our best to avoid any floor plan changes, we decided to break through one wall (the wall on the last photo above) so that at least one of the rooms would have an en-suite bathroom. The second room received a separate bathroom too, however, not directly accessible from the room.
The Renovations
As I already mentioned, the goal was to keep the renovations as little as possible. That’s why I didn’t change any big walls, as well as the infrastructure (for example pipes and electricity) were nearly all kept exactly as they were before. Since the building the renovations took place in was a more modern annex to the main building, we were lucky to already have floor heating in the main rooms. Therefore, we only installed electrical floor heating in the bathrooms.
In the main rooms, the carpet was removed and a new floor was installed. Furthermore, all walls were grinded and freed from the ingrain wallpaper. One wall was slightly opened (to fit a door to the en-suite bathroom). Windows were kept in tact, just the wood was grinded and lacquered in a matte black. Regarding the four single lavatories, two of each were connected and transformed into proper bathrooms. For that, we also changed the tiny windows from the single lavatories into two bigger ones, leaving enough space to enjoy the view into nature. If you’re interested in the bathroom transformation, make sure to also read the following blogpost here.
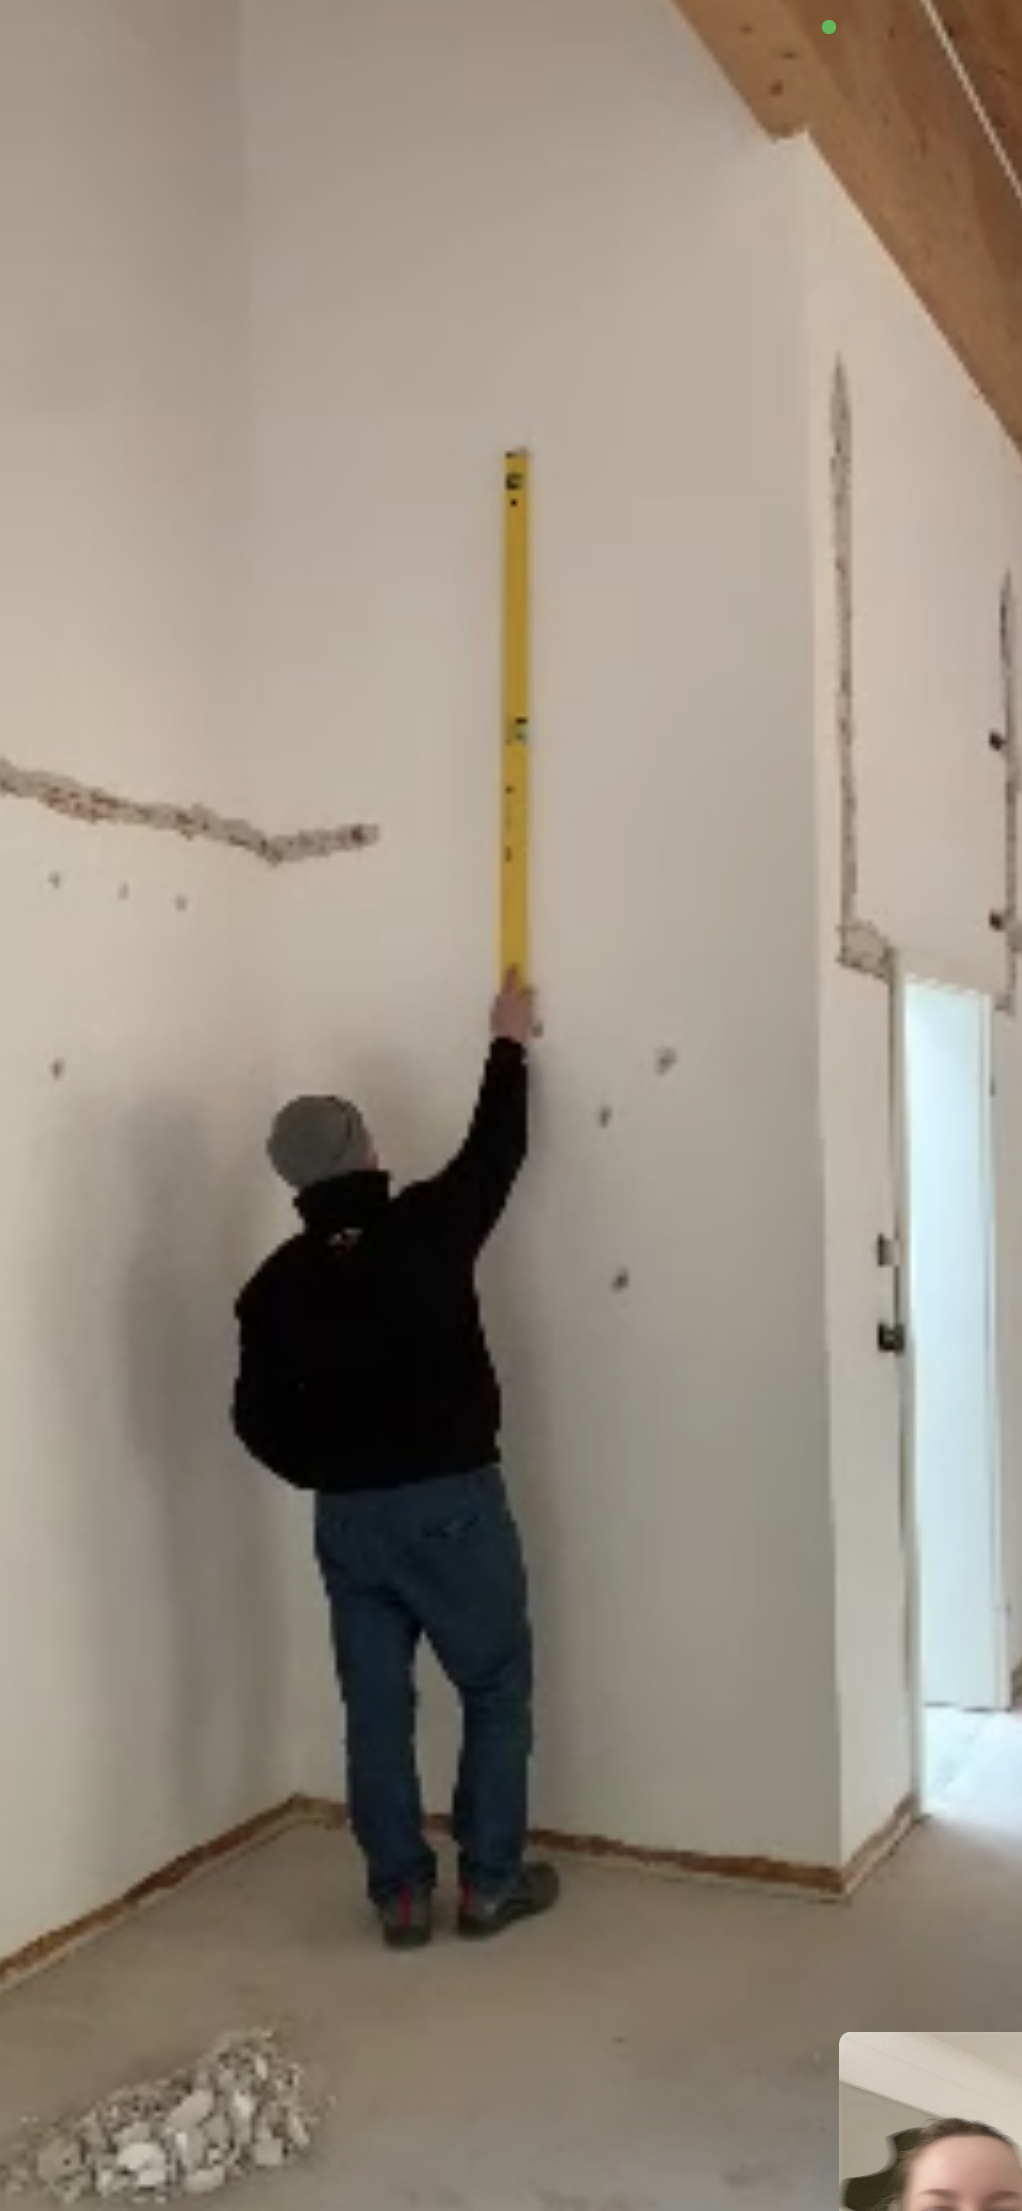
Now, as we were left with a loooot of huge, white walls, I really wanted to make use of them more. Therefore, we decided to build a custom-made arch shelf with a work desk included at the bottom. There would have been no other proper space for an office desk, therefore, this was the best solution. Together with some amazing workers, I sketched and really developed the arch with them. We had multiple different attempts to make sure the size was exactly what I wanted for the wall (not too big, not too small). Furthermore, the distances to the side walls and ceiling were calculated, as well as the thickness of the arch. As you can see below, sometimes even via FaceTime lol. And not to forget: in collaboration with my wonderful partner brand VELUX, we installed roof windows in guest room 1, which provide so much light and warmth!
Other than that, I decided to paint the wooden ceiling in the same colour and paint as the walls (mineral plaster). This was definitely a risky decision, as wood is usually not the perfect underground for plaster. However, as I really needed and wanted the ceiling to match the walls, I had the painters test the mineral plaster on the ceiling, and once we saw it worked very well, we decided to just go for it. No risk no fun, right? And guess what, I’d do it over and over again!
The Results
I think I’ll definitely have to do another blogpost on all of the details (how the arch was built, how I created the two vanities in the bathrooms, the wall paint, the room layout of the second guest room and how we divided it smartly, and much more). But for now, I think this is a great overview of the full project. Please let me know if you would like a more specific topic to be covered! But for now, let’s take a look at the results. Finally!!
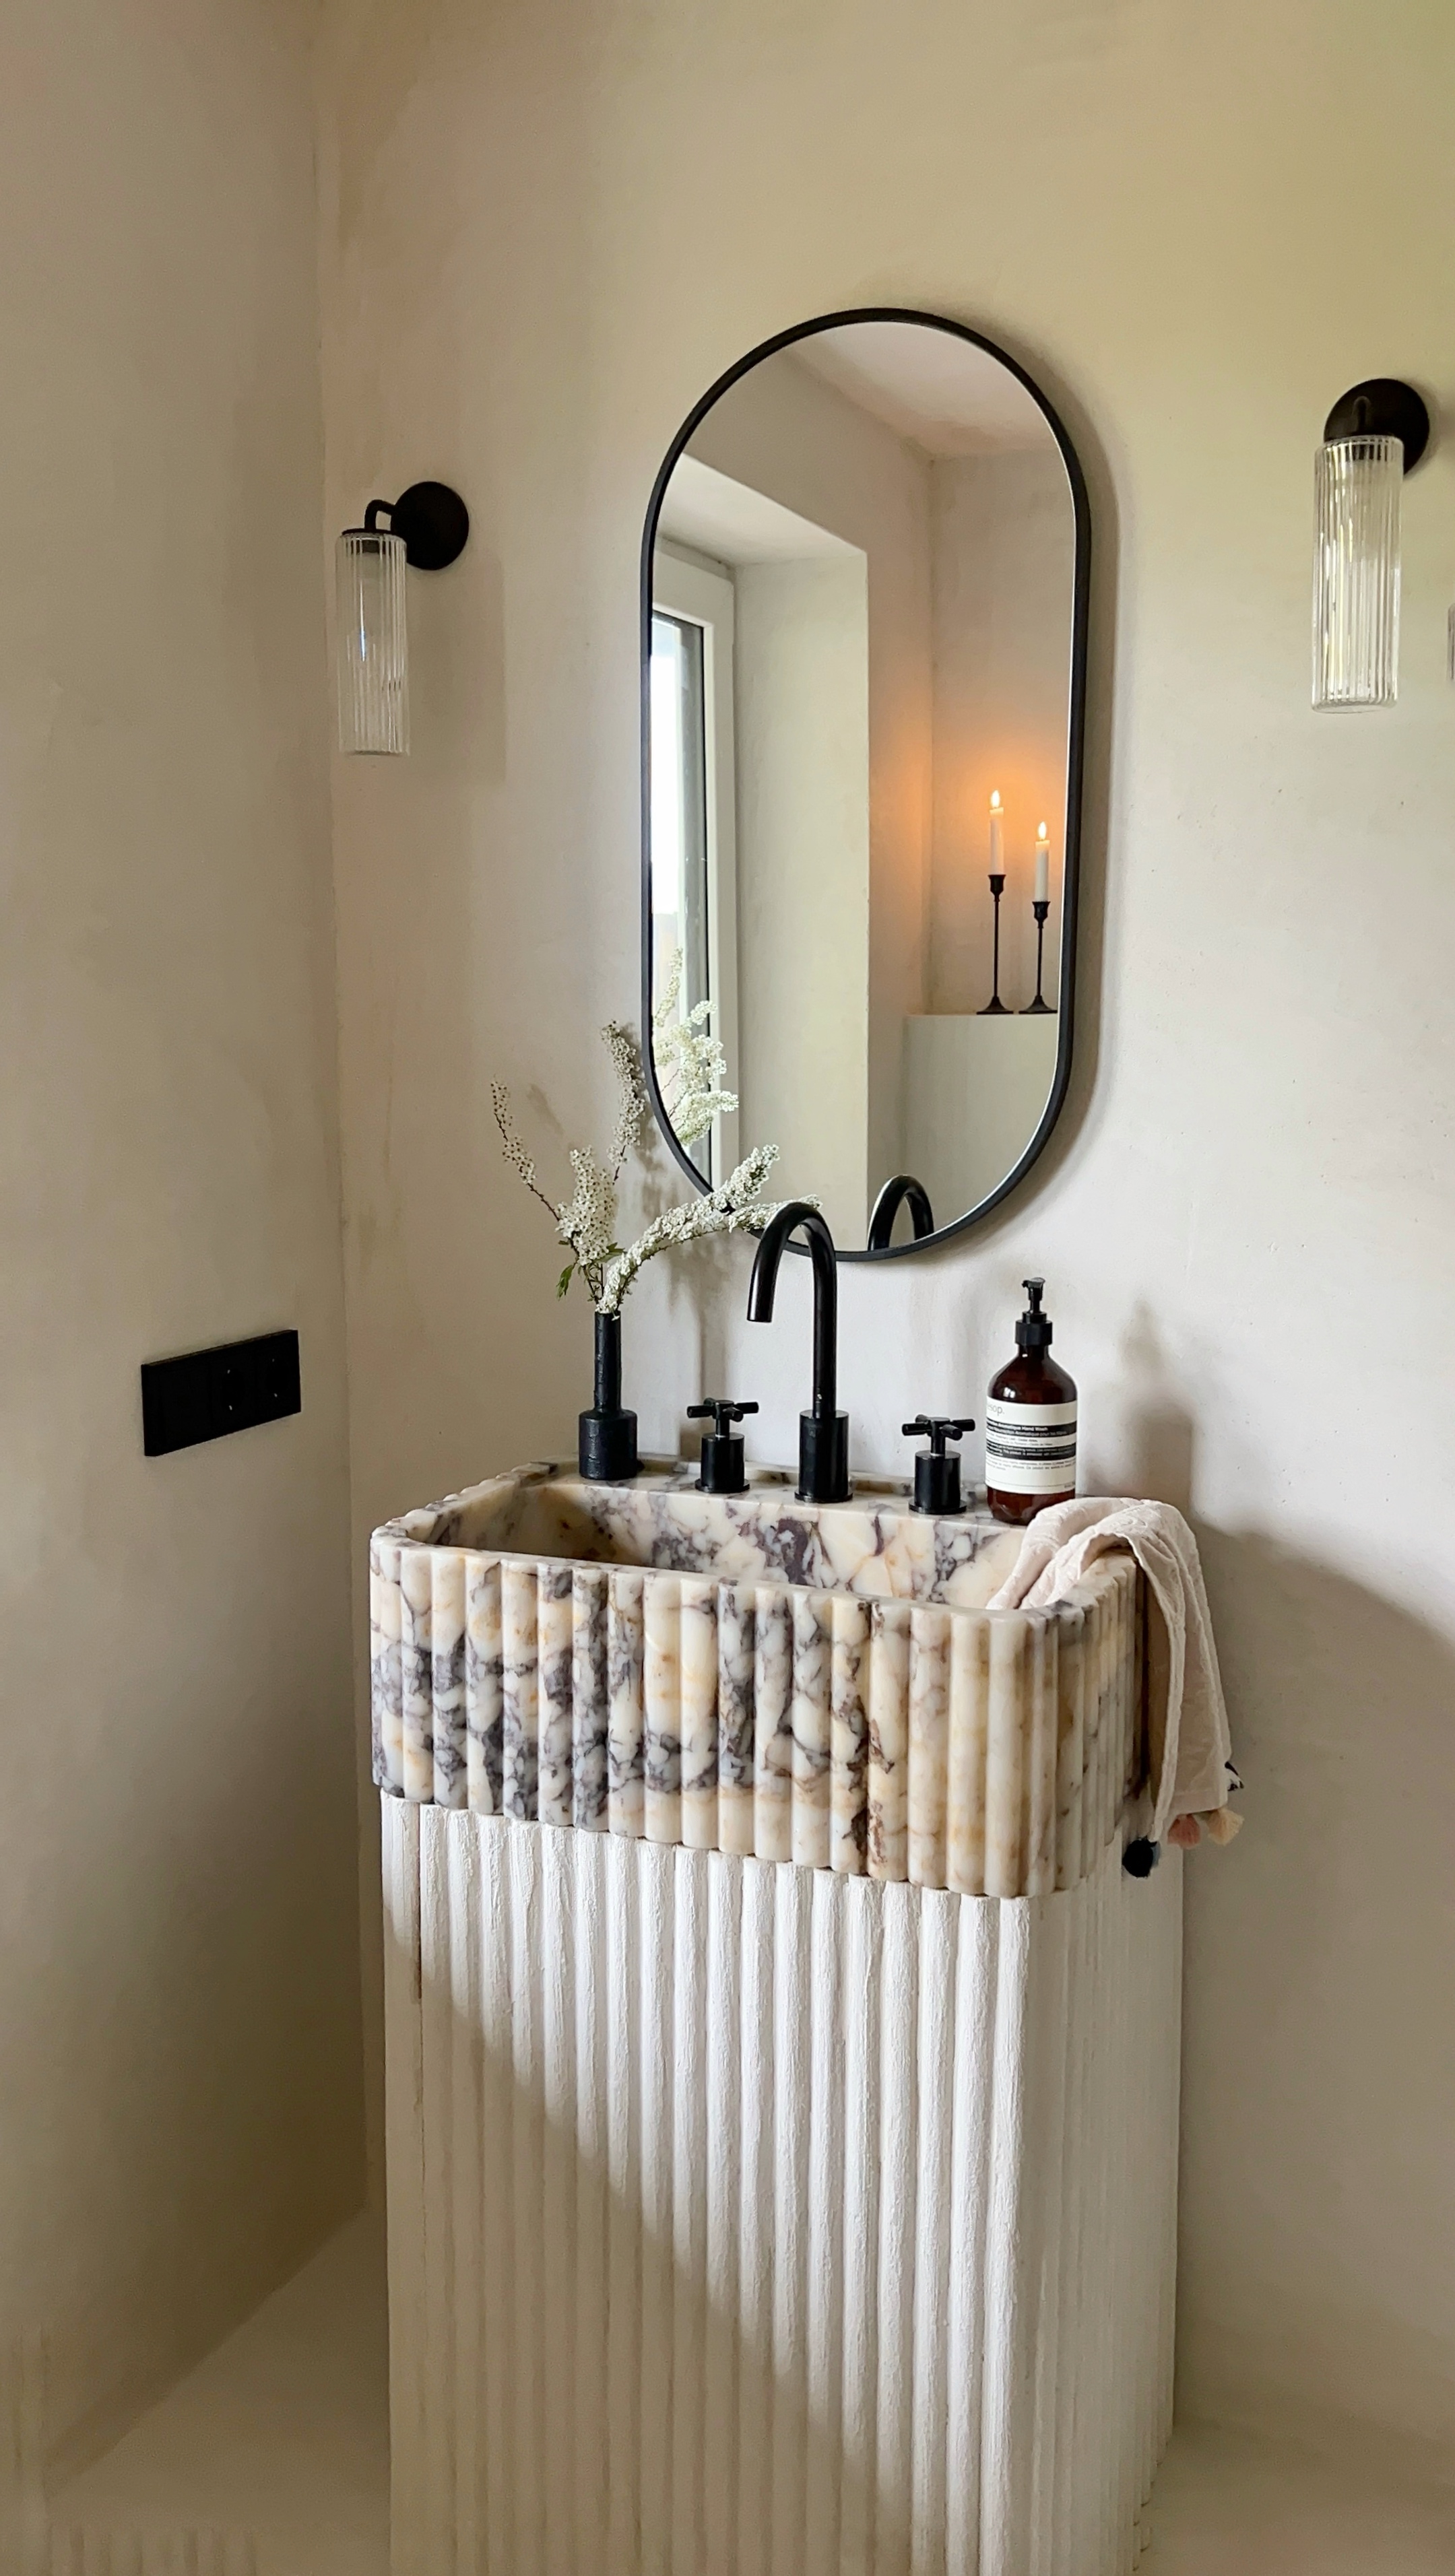
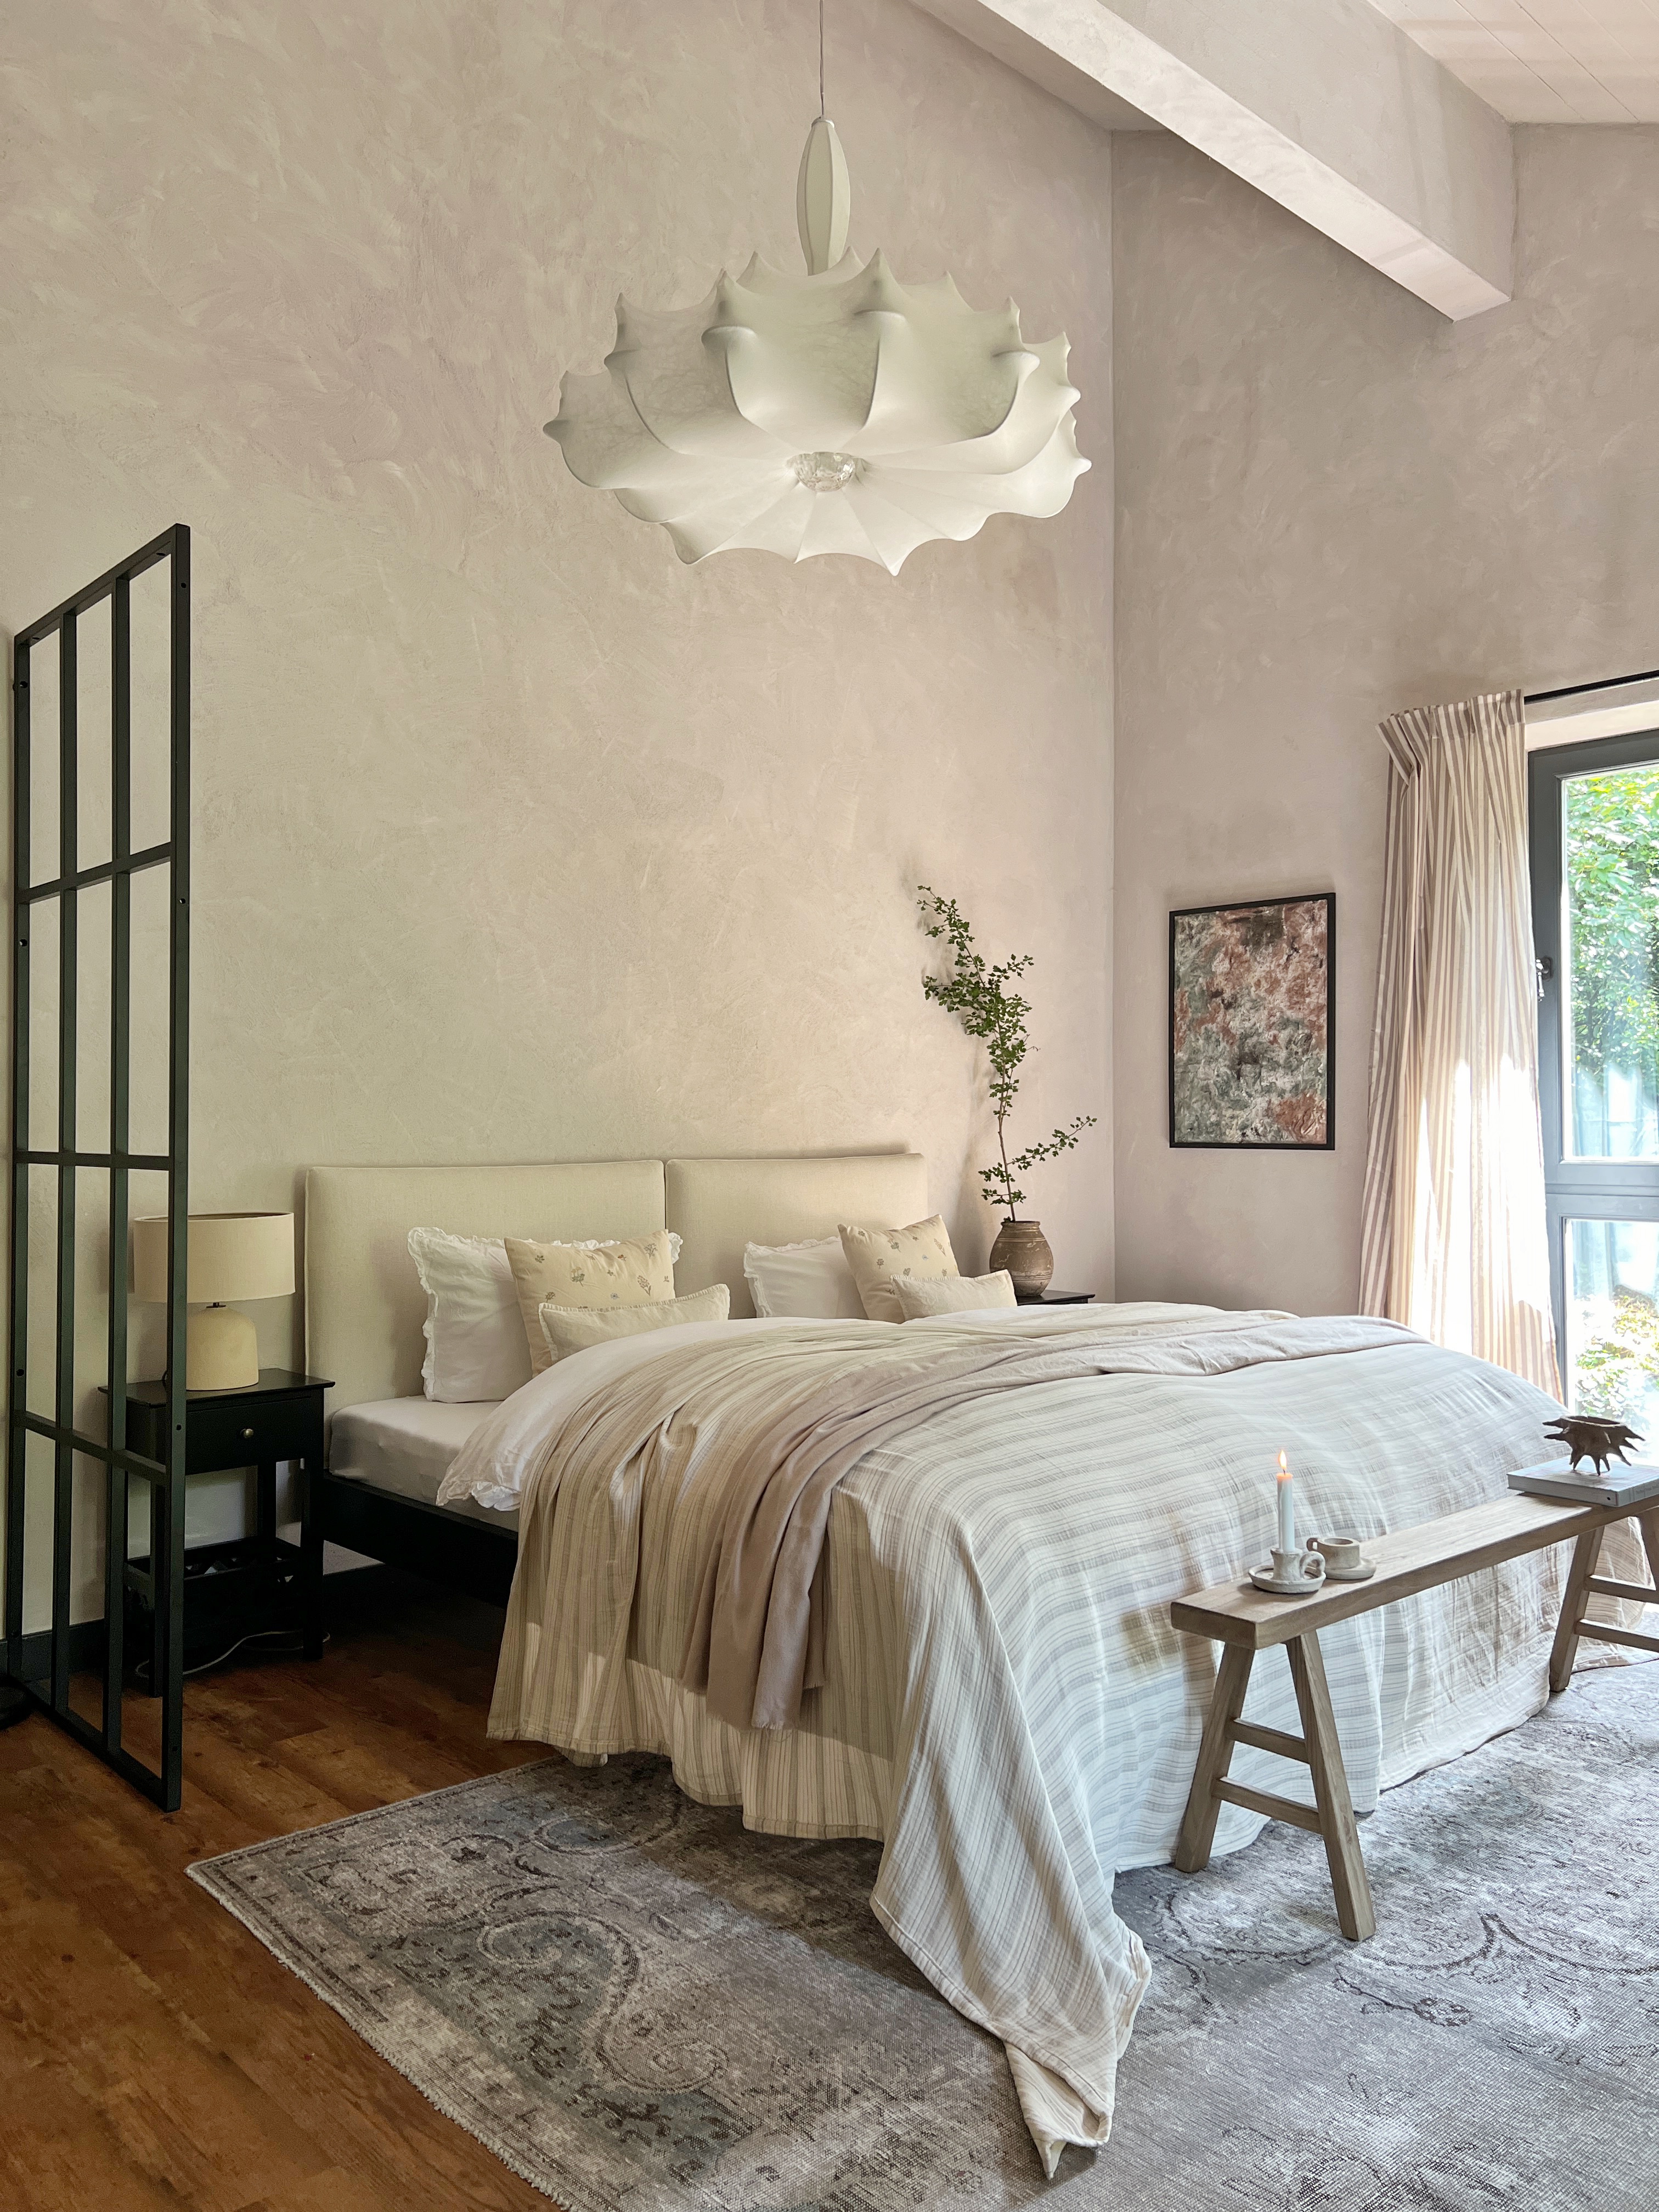
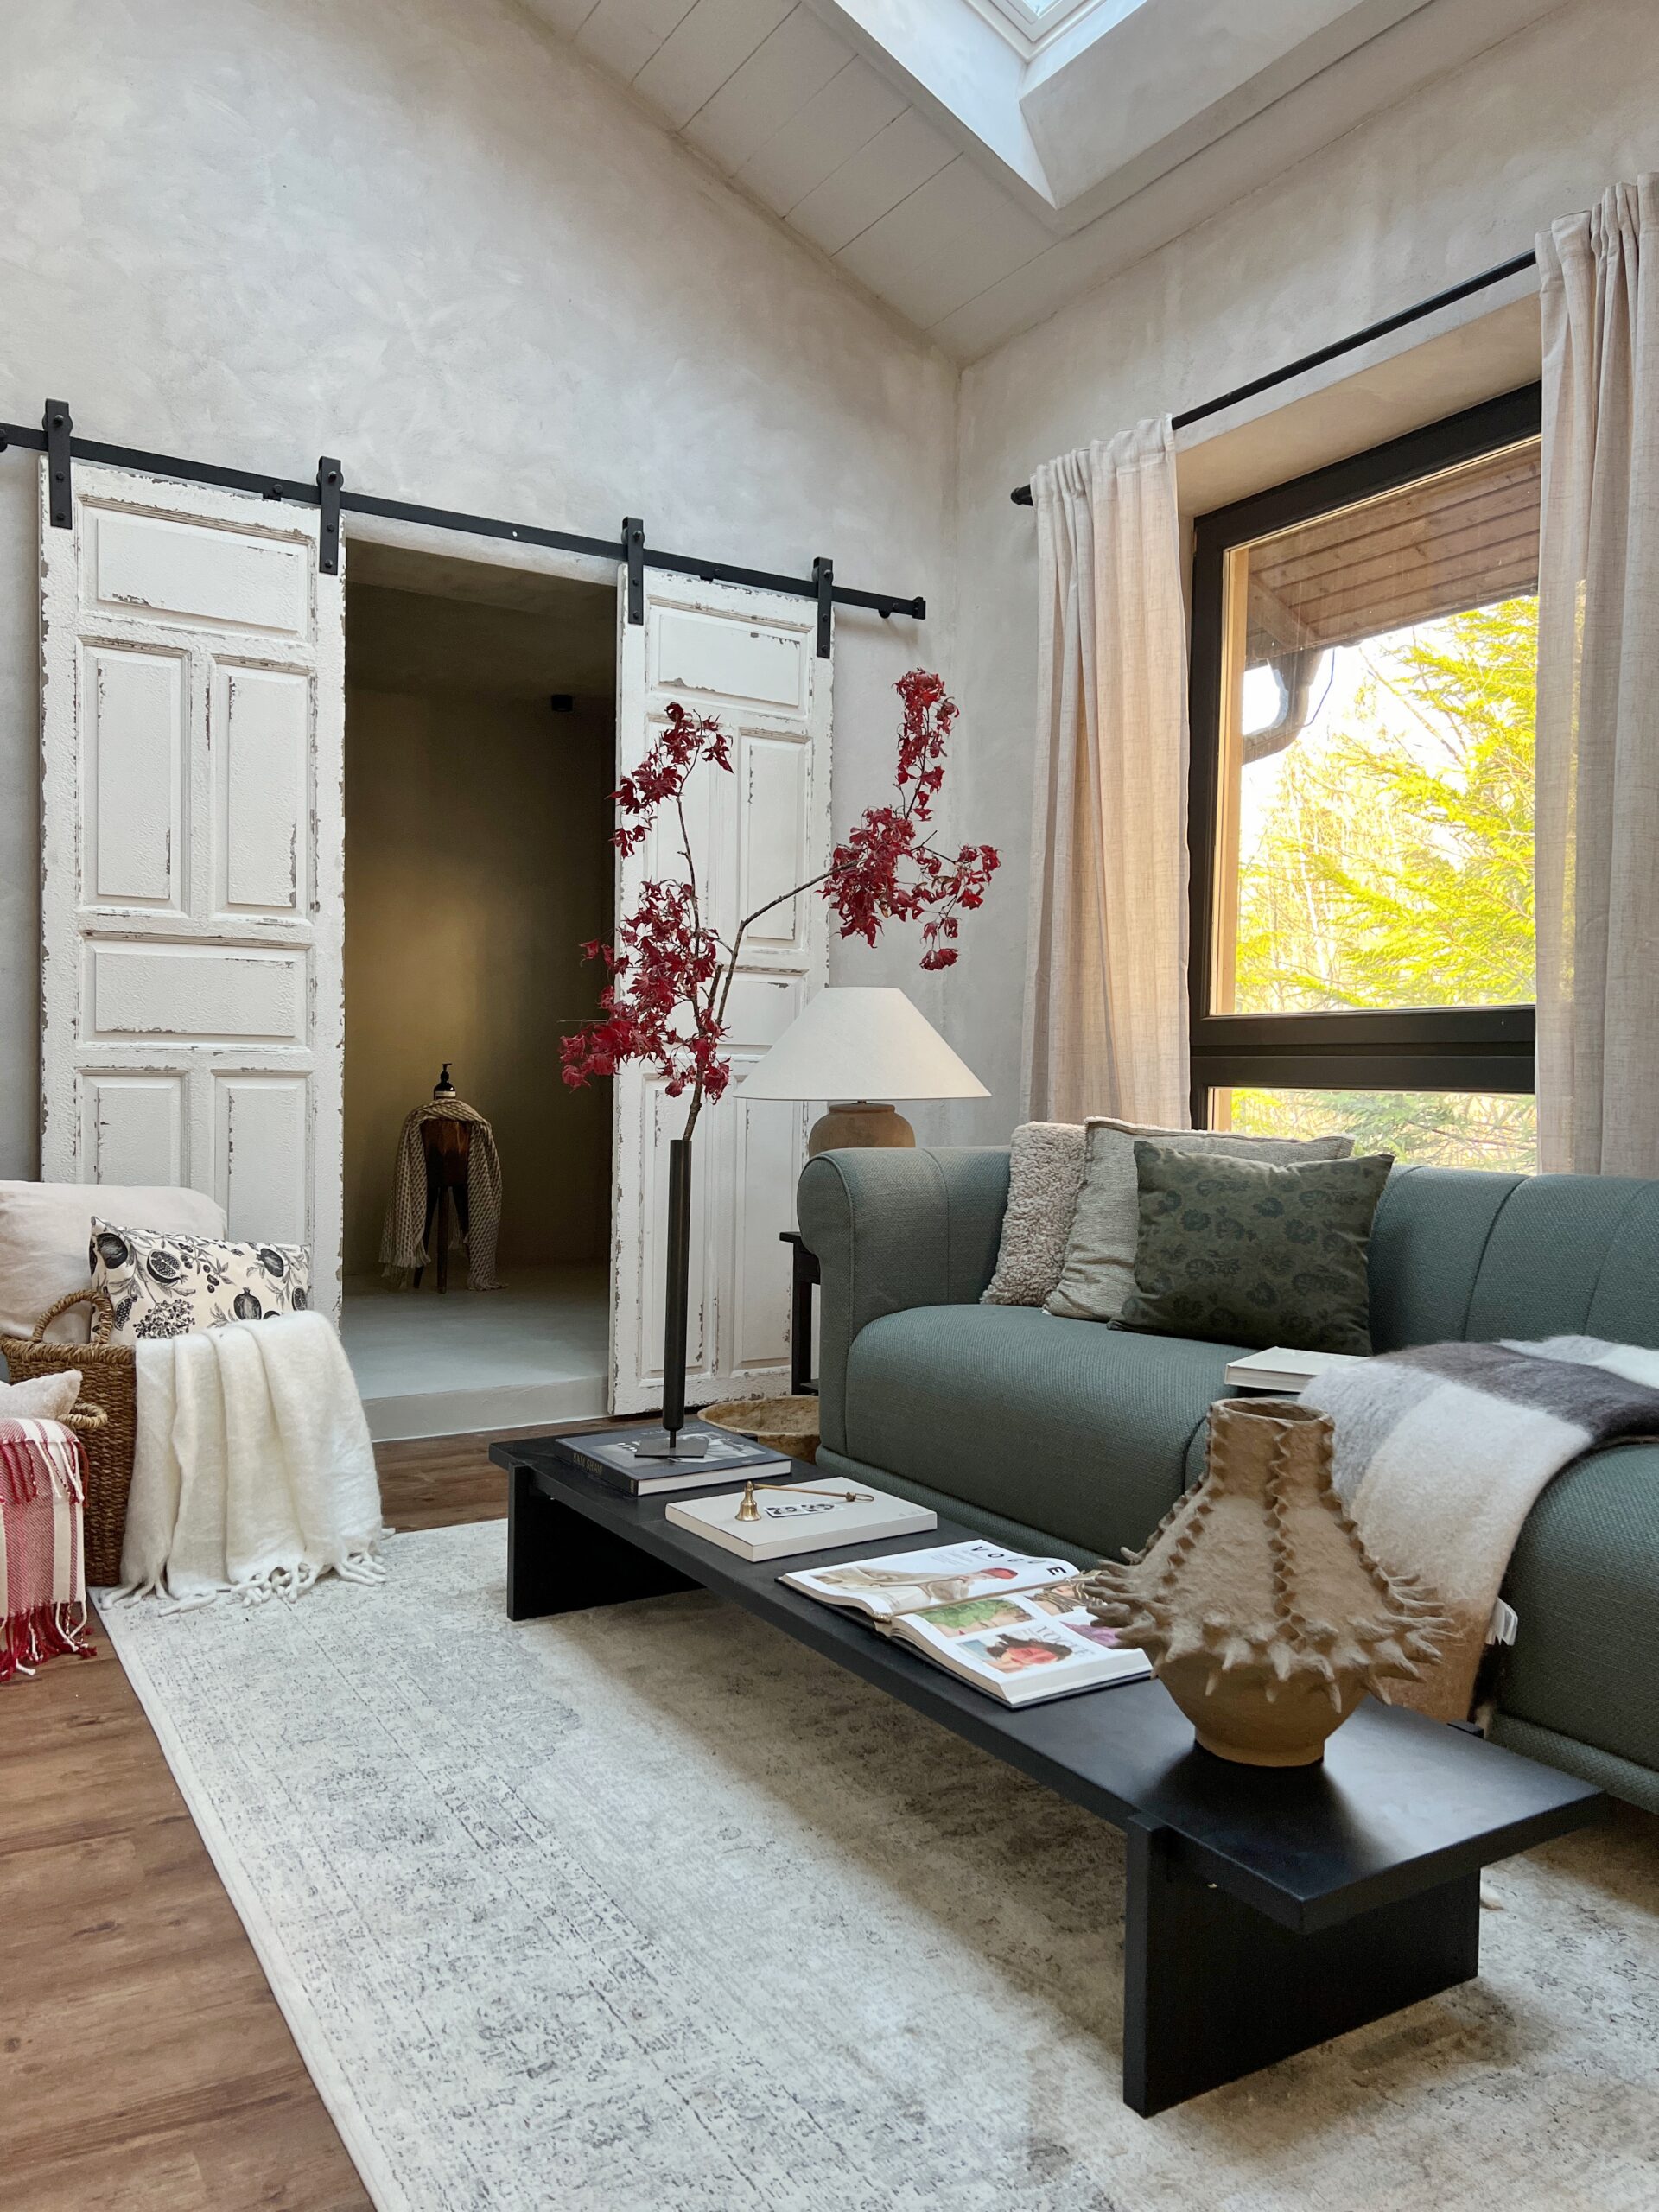

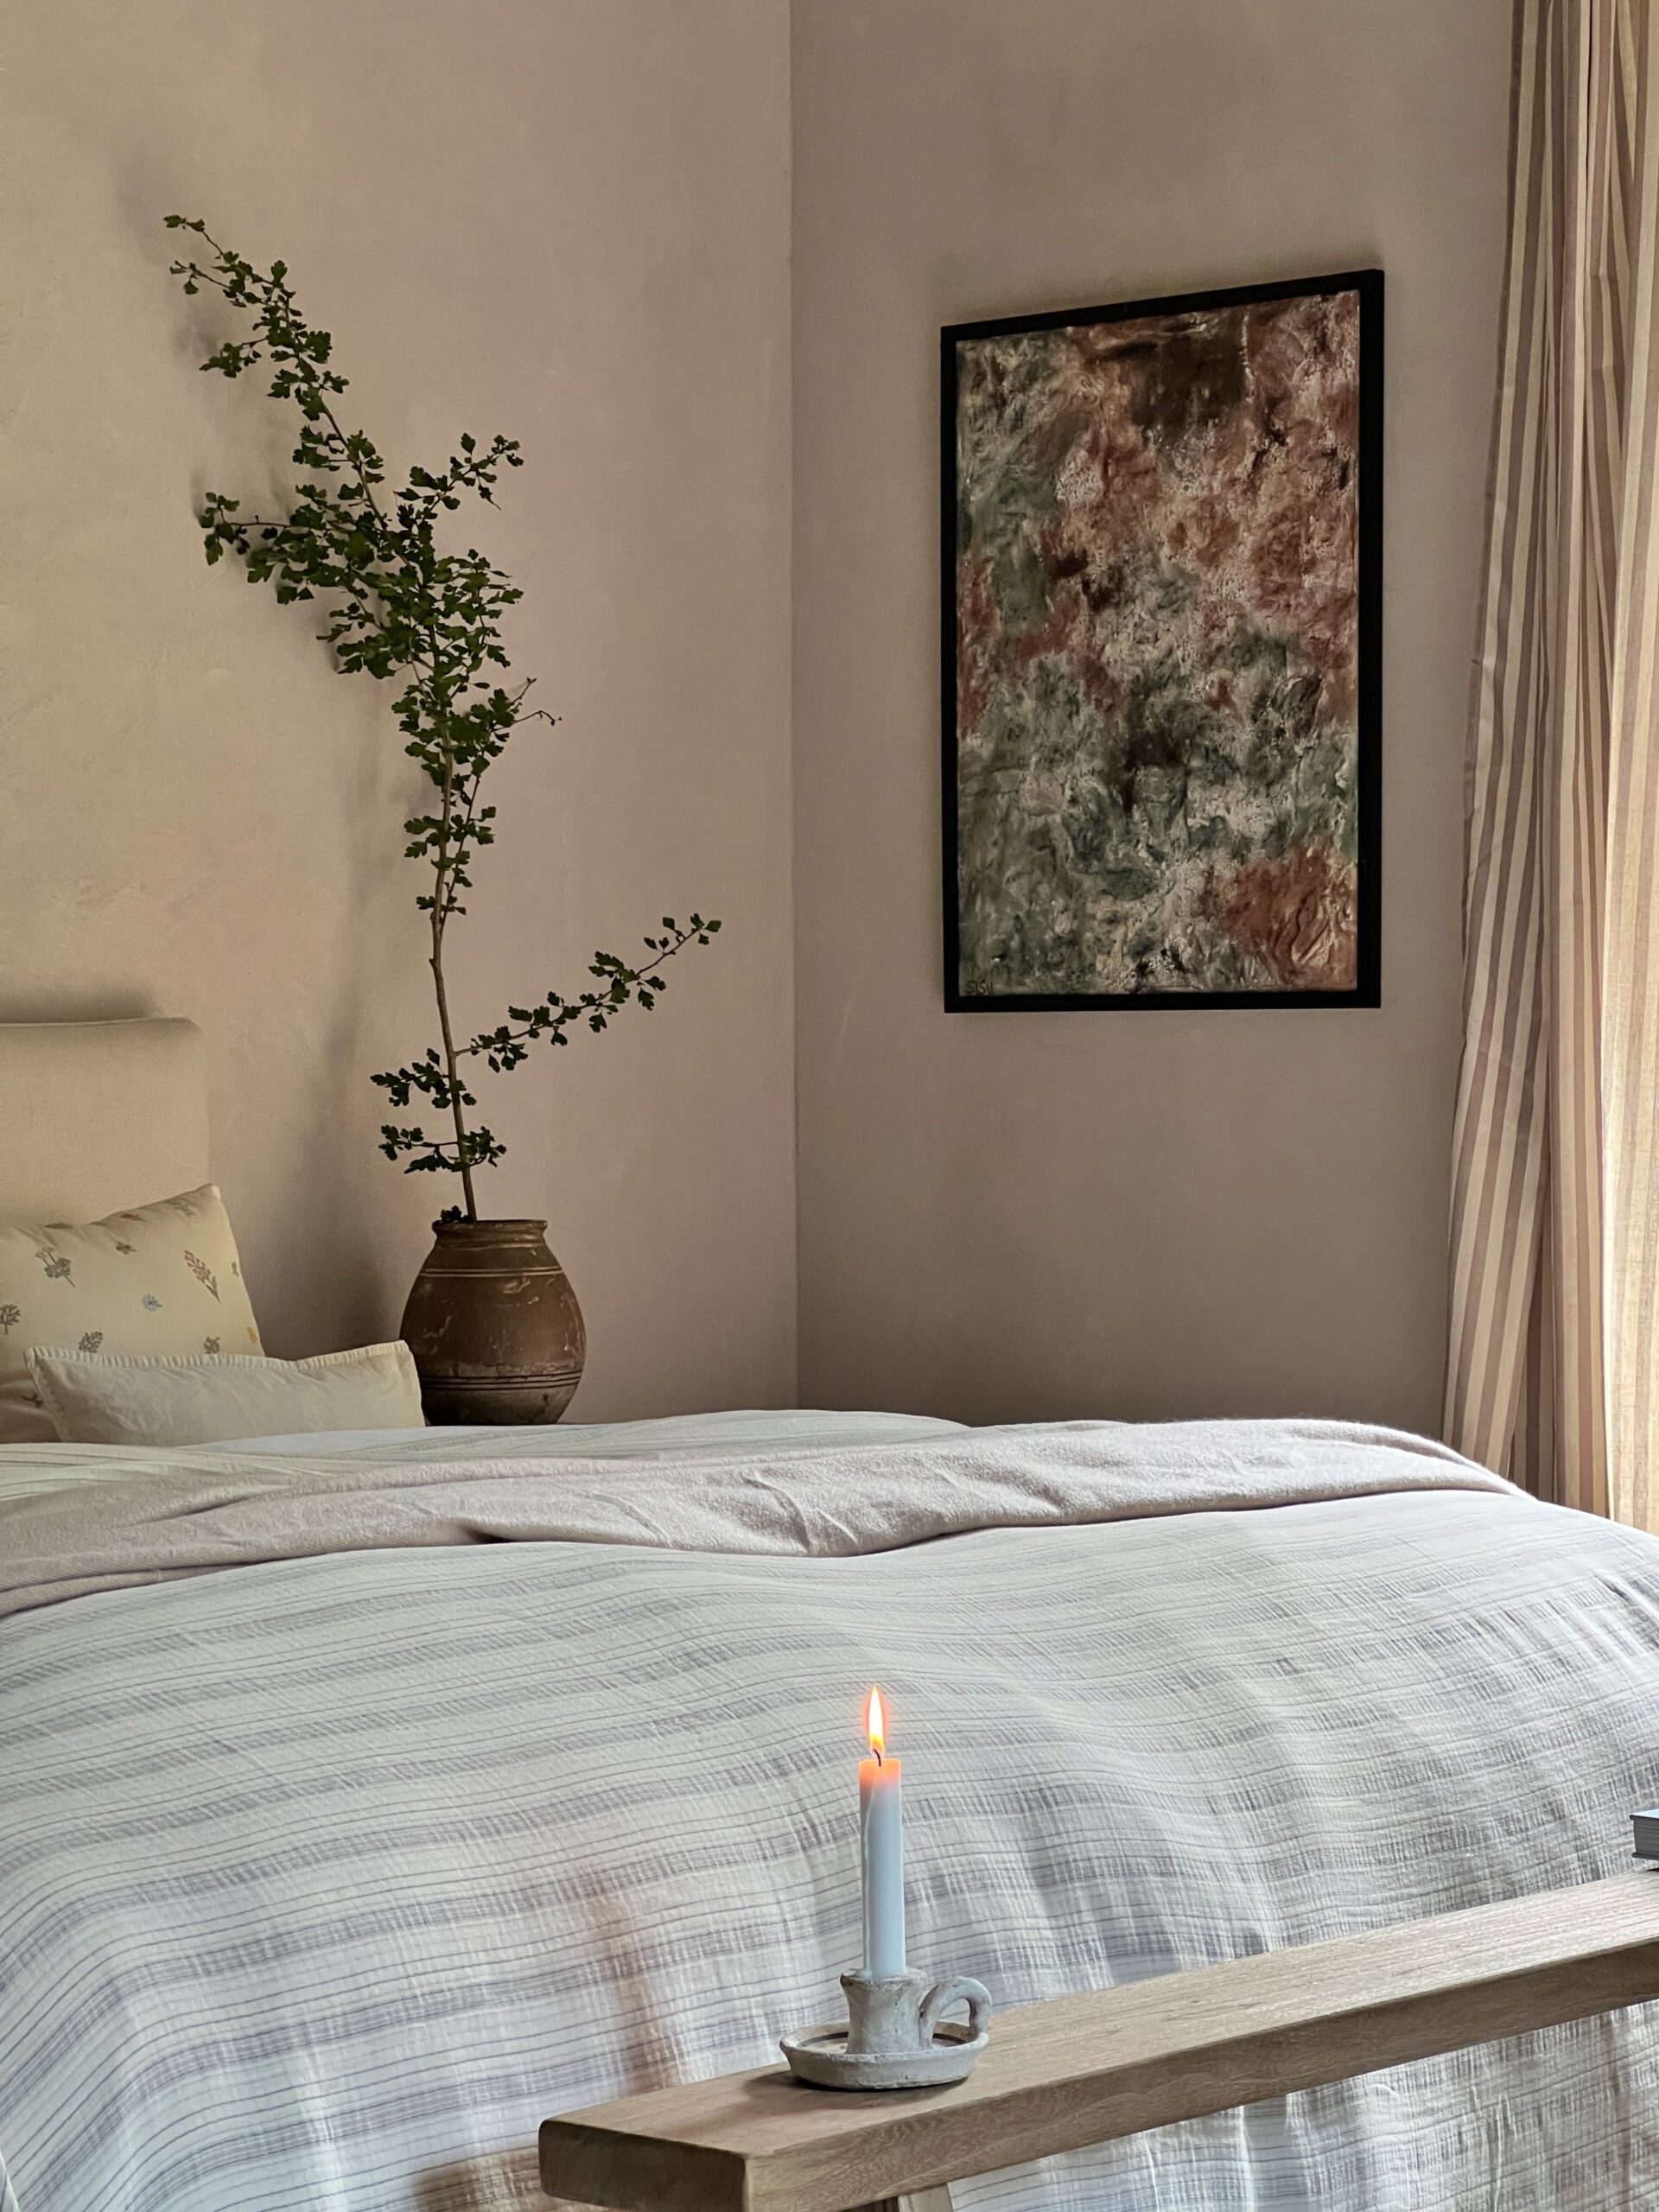
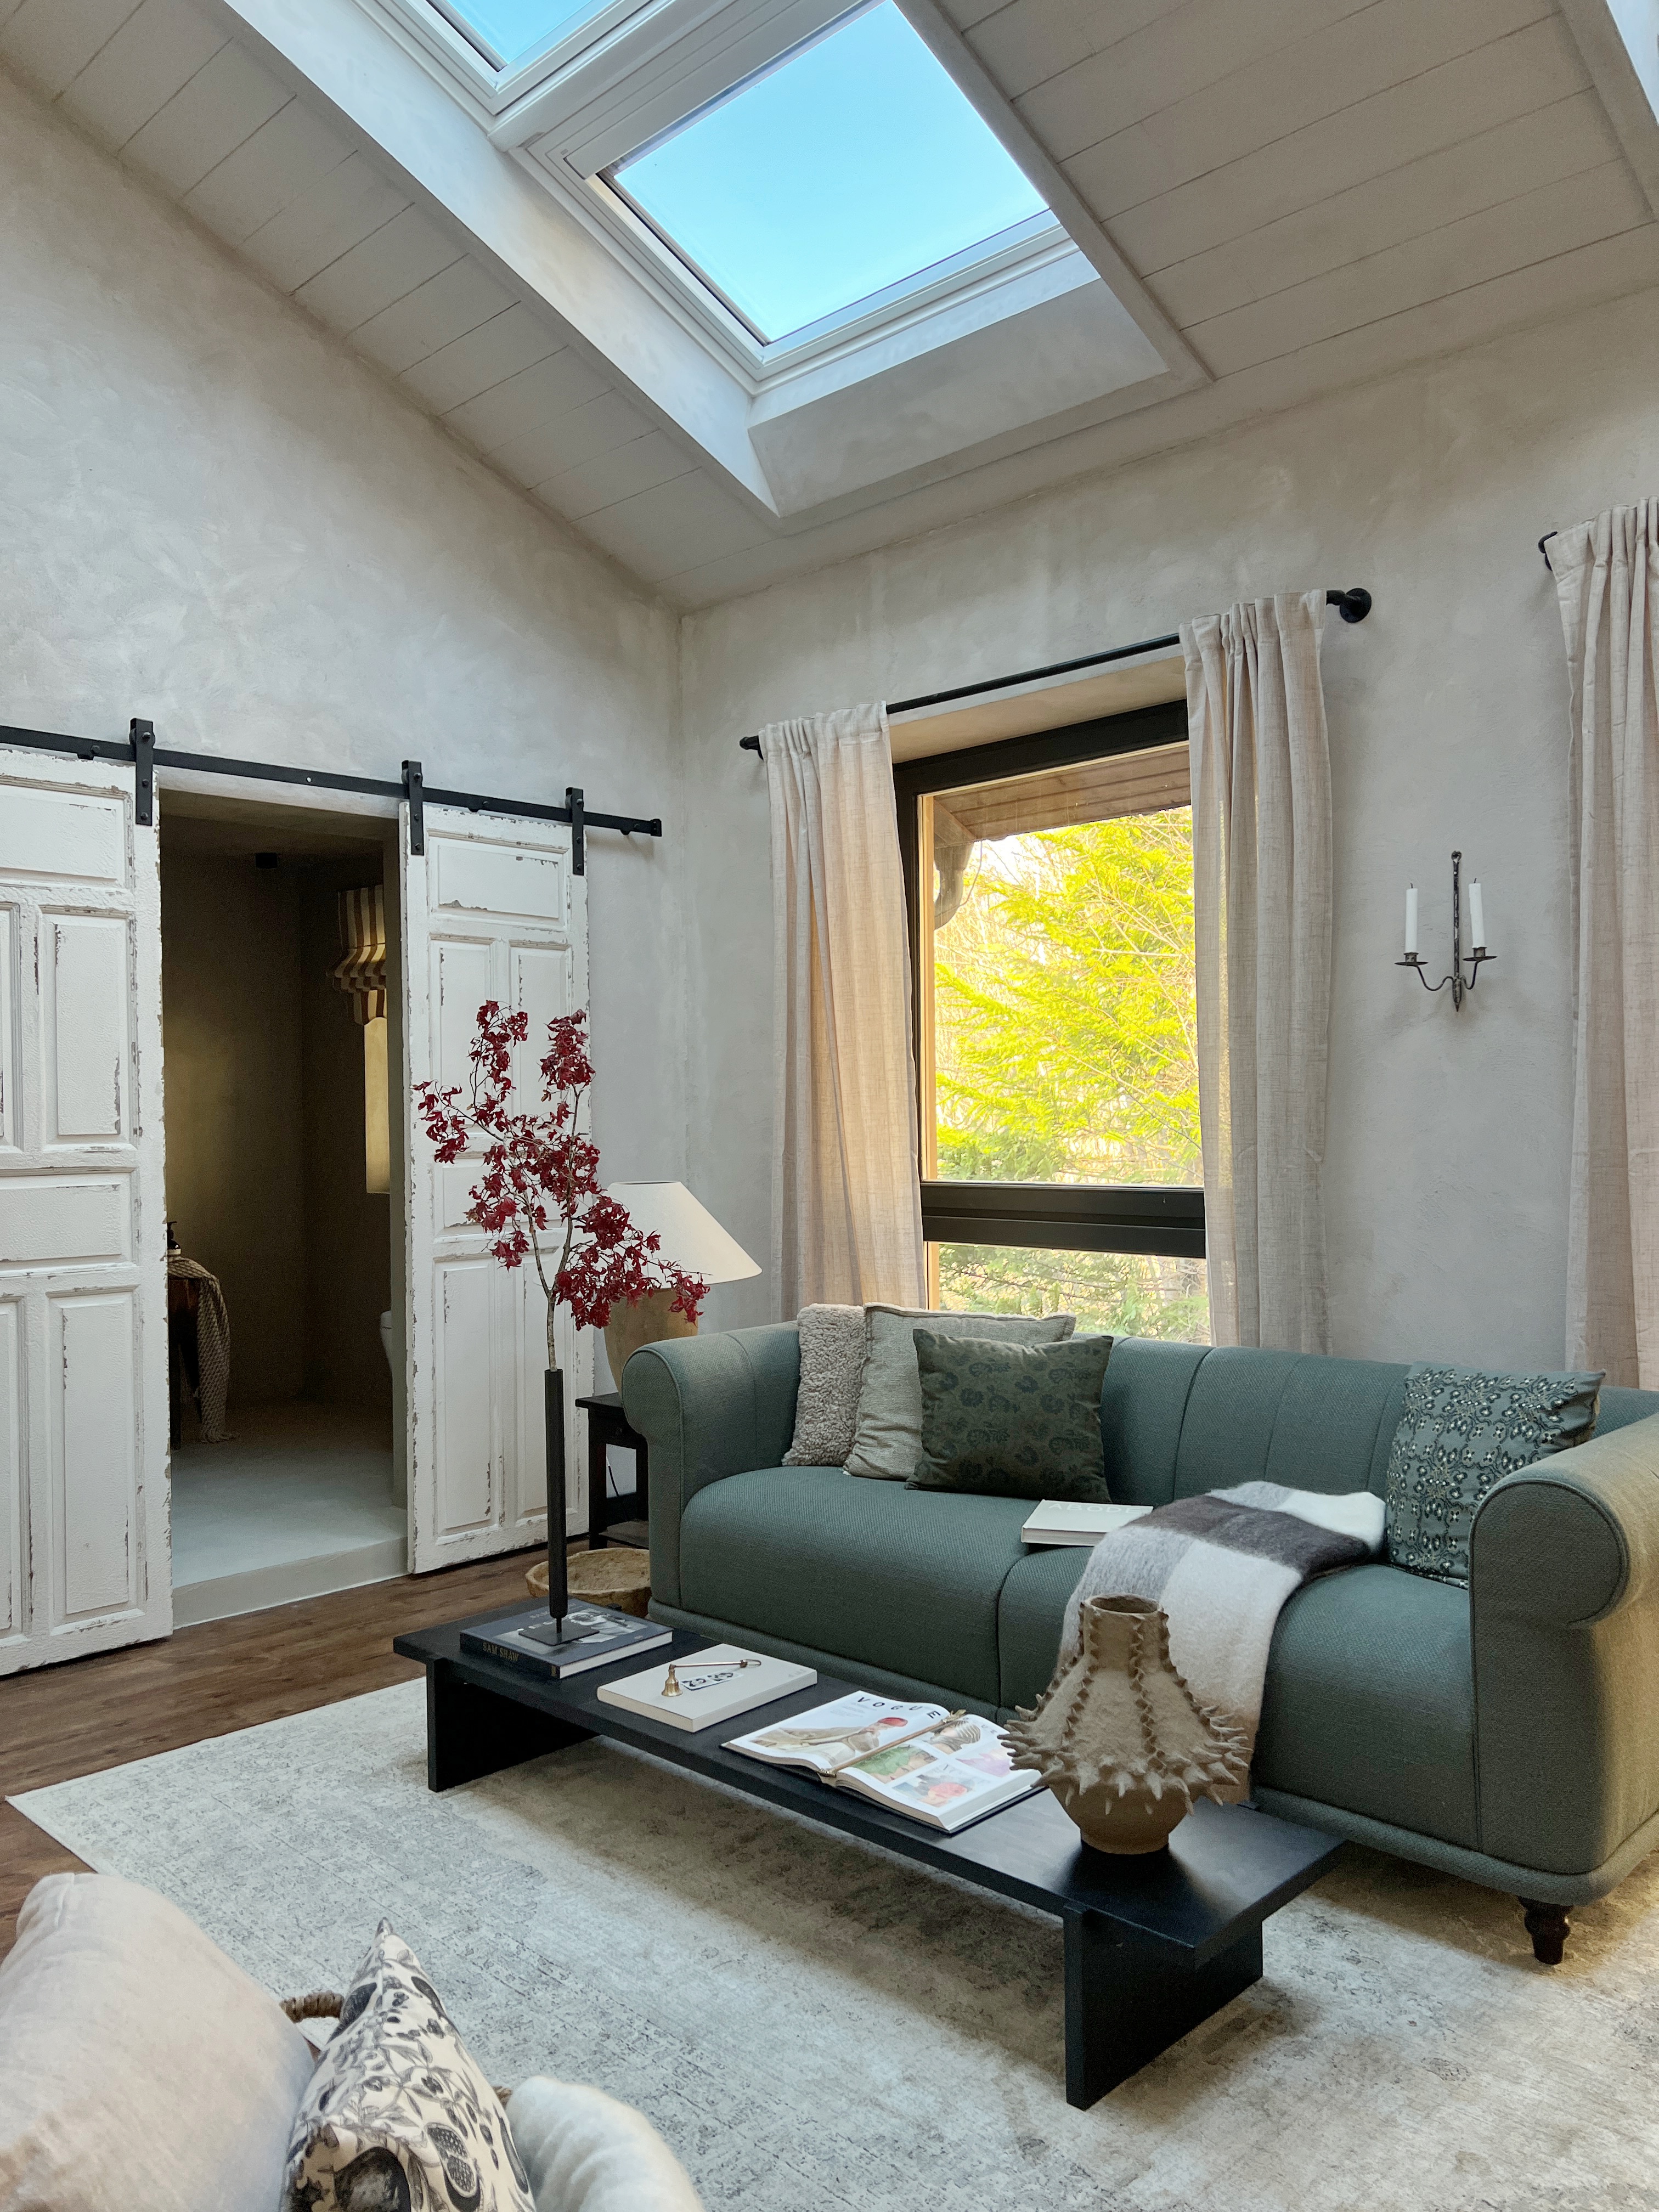
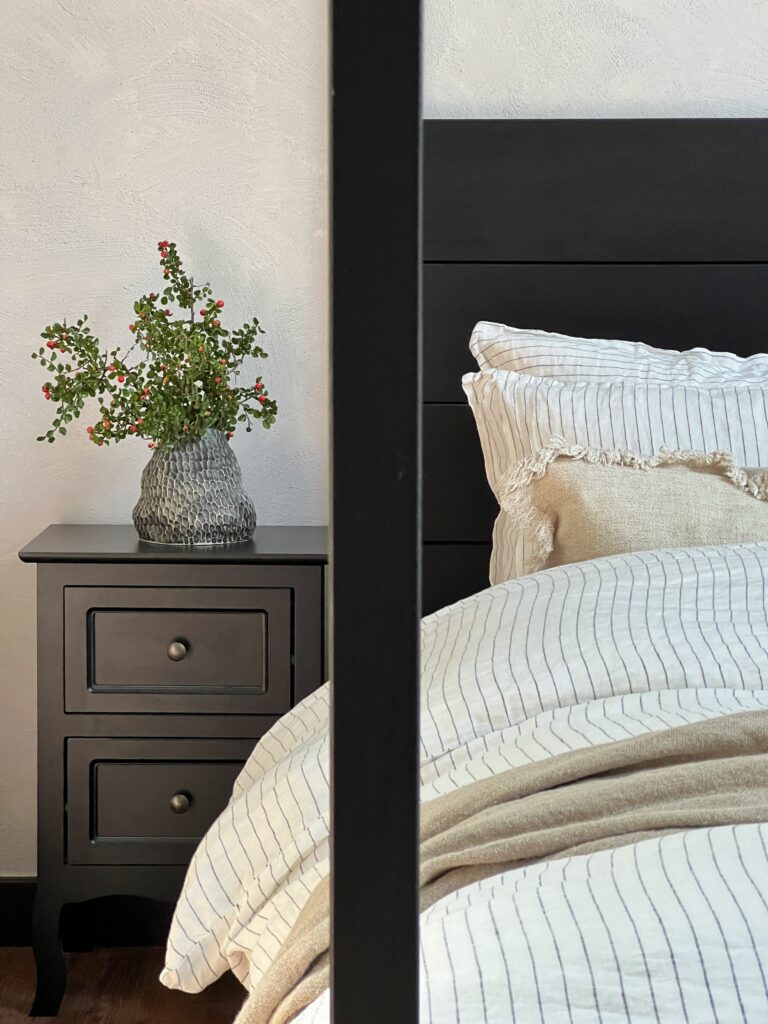
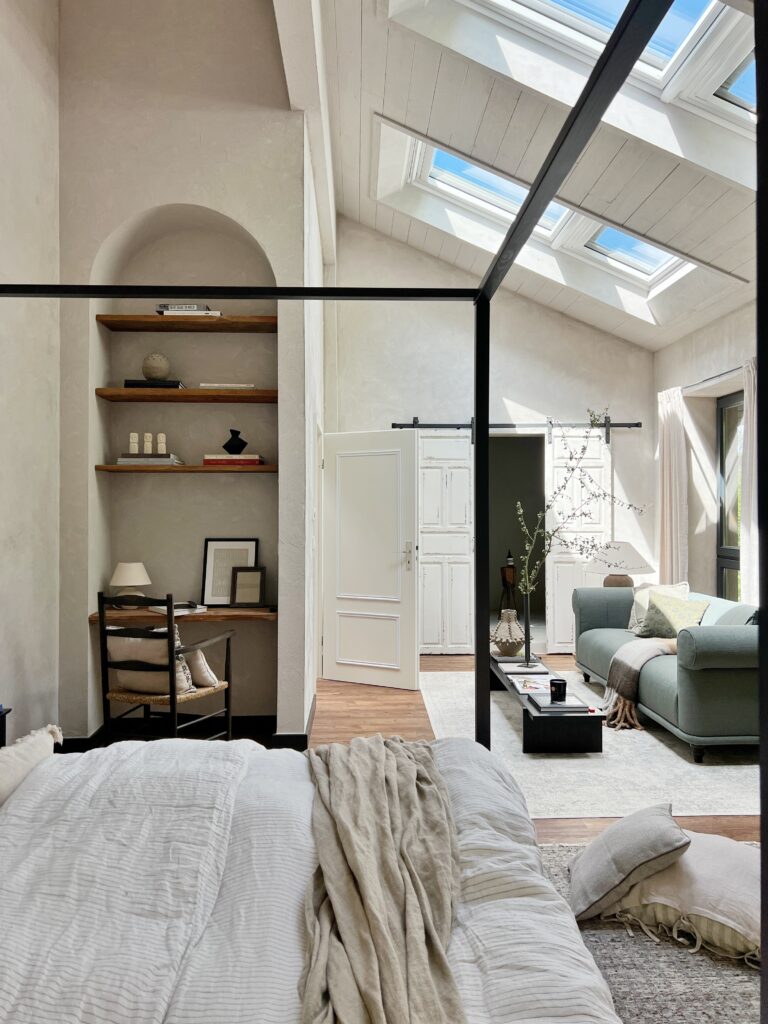
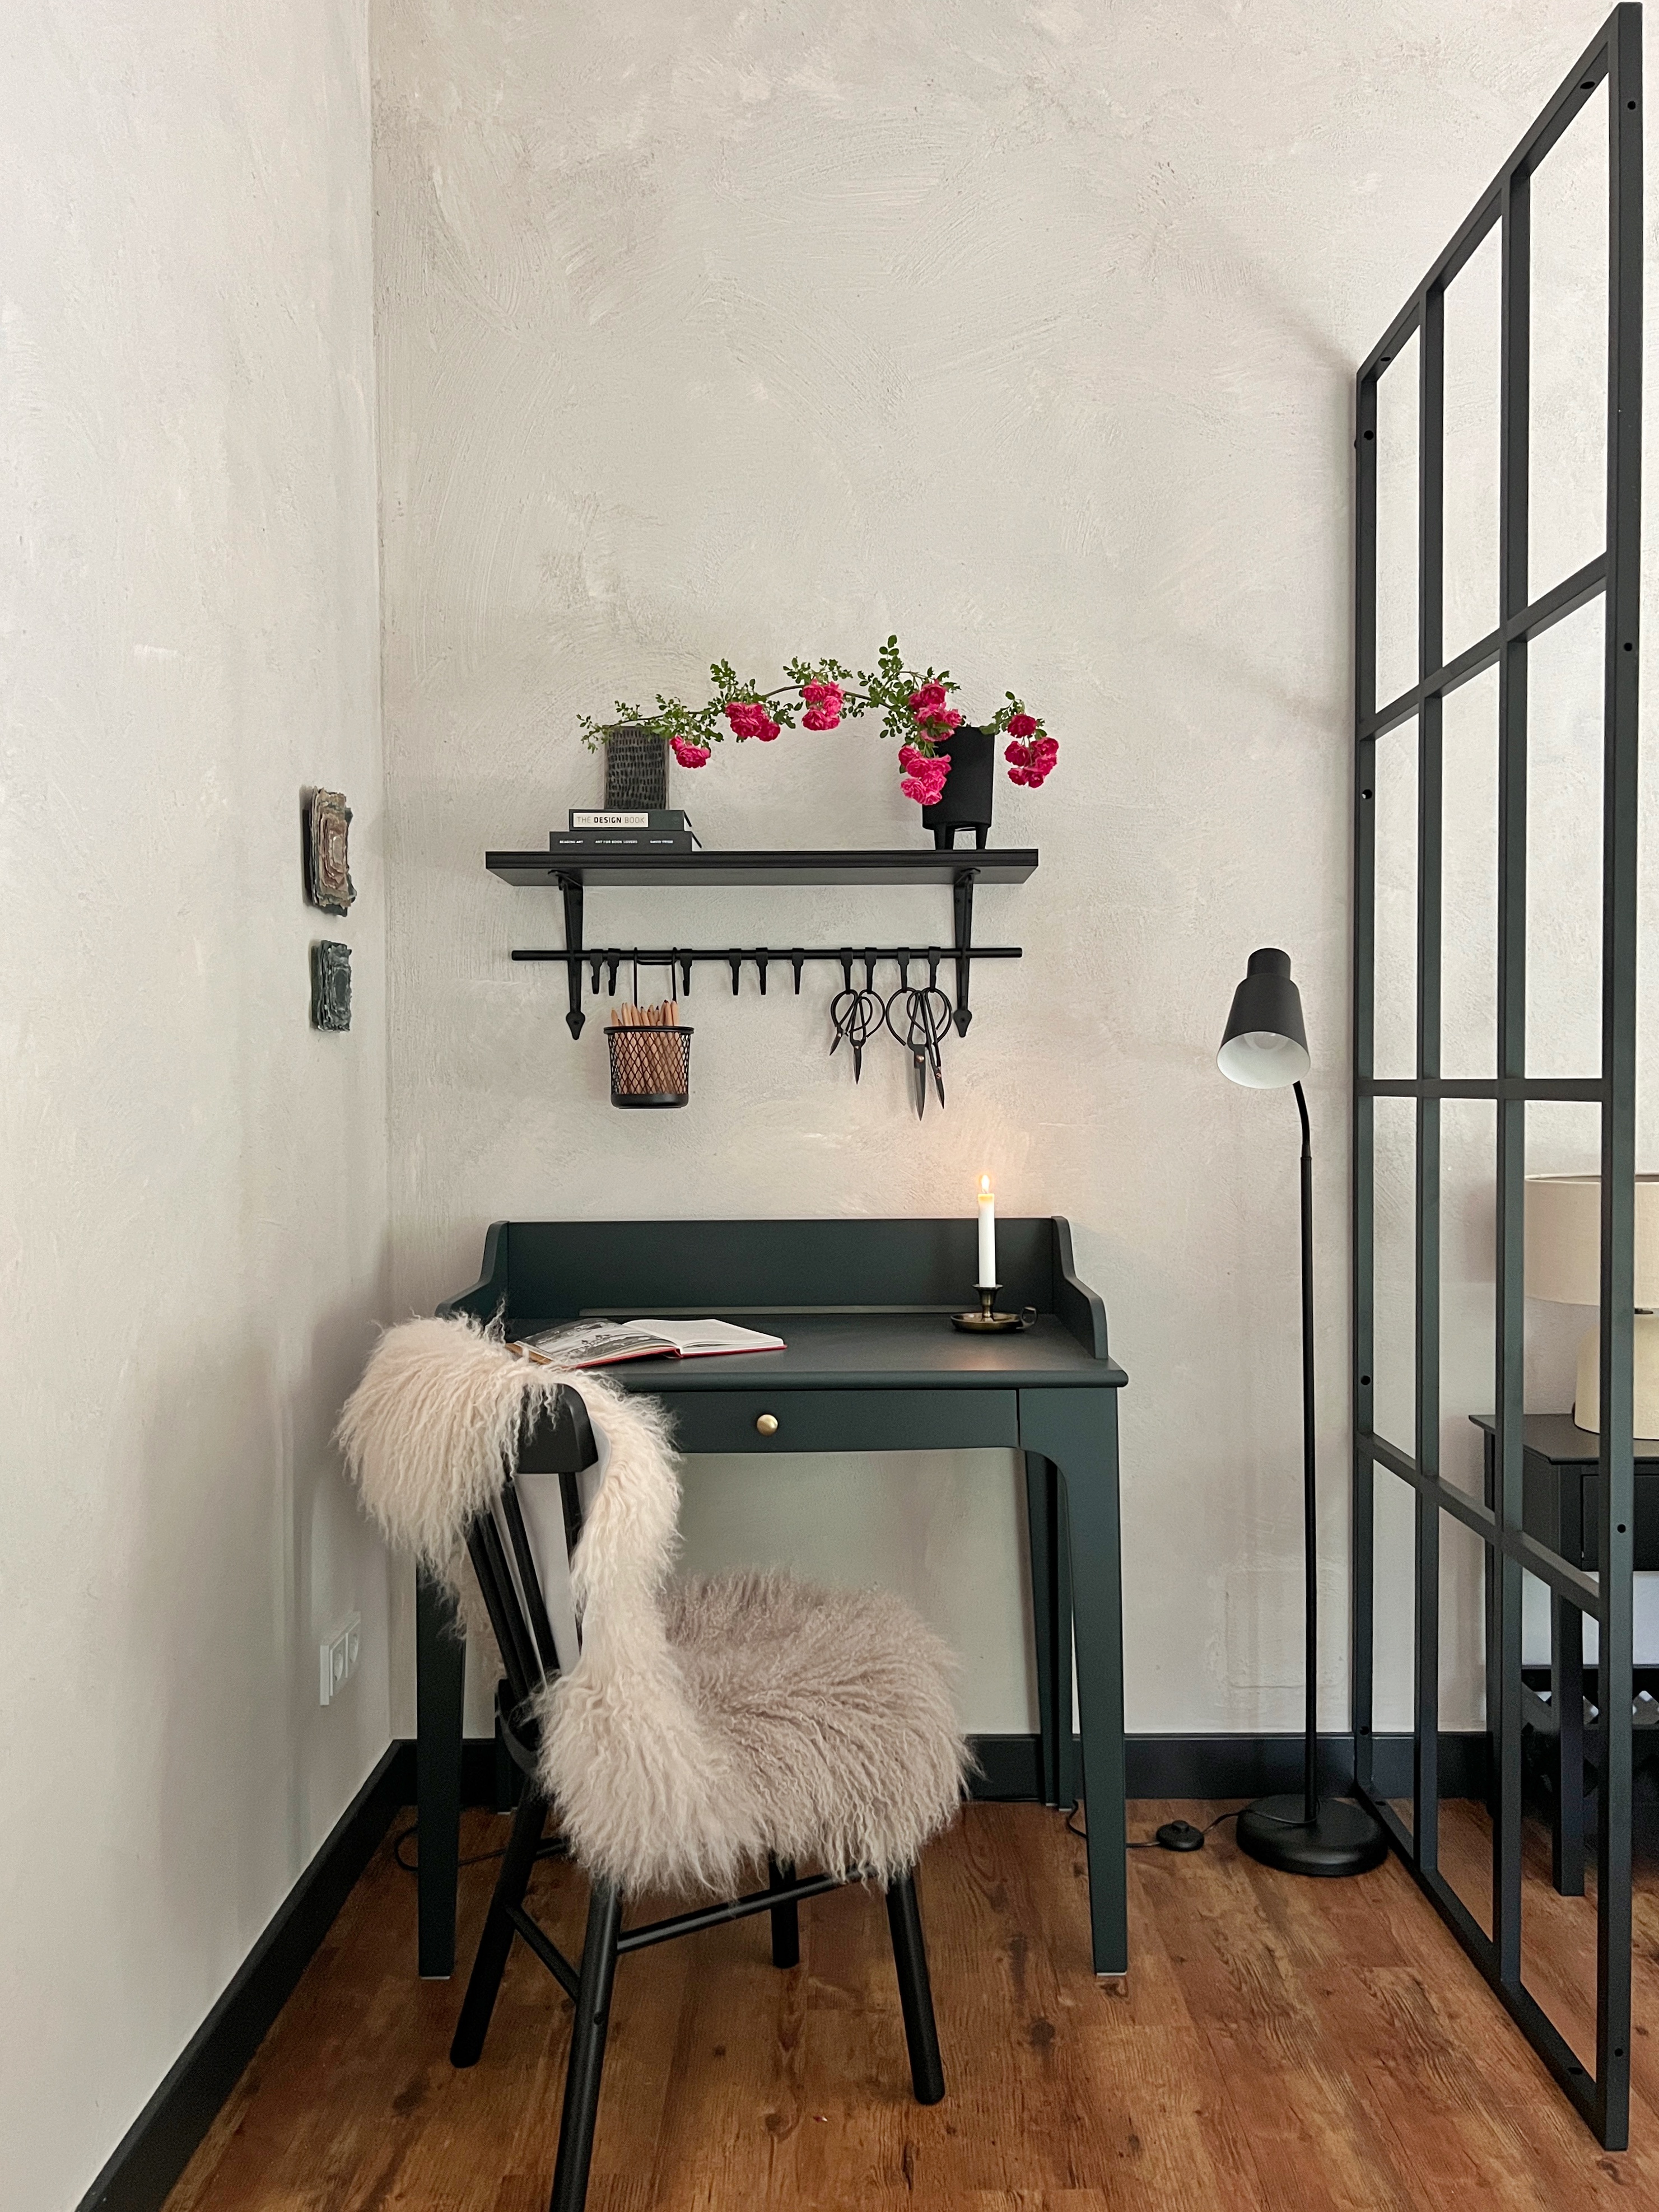
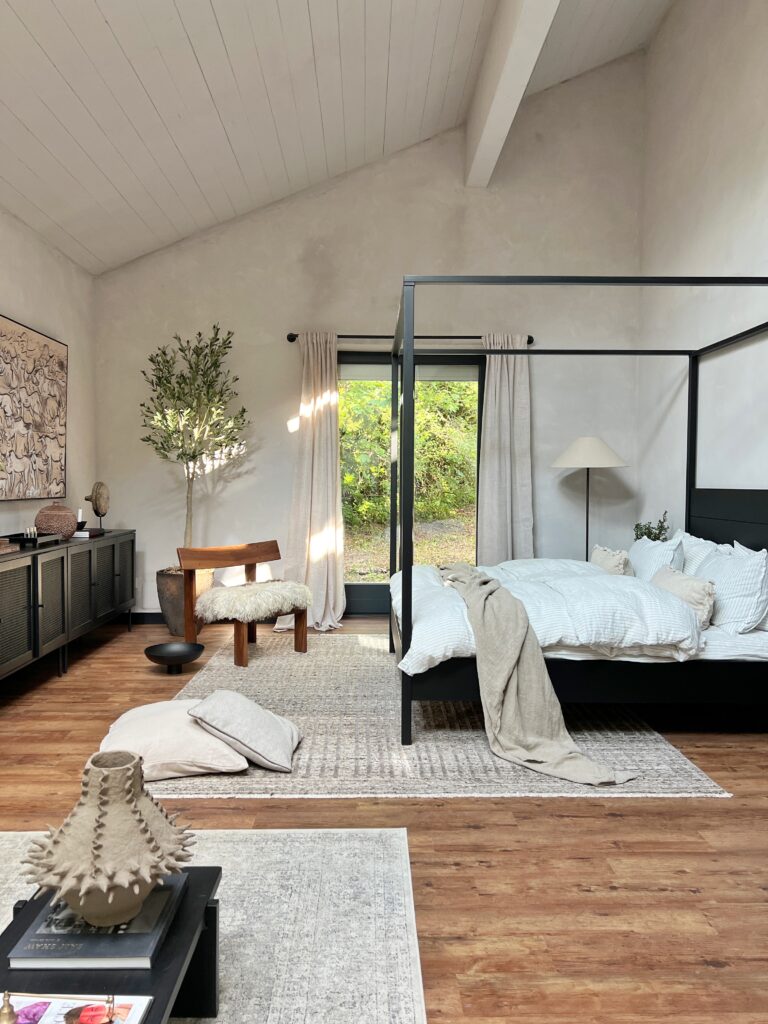
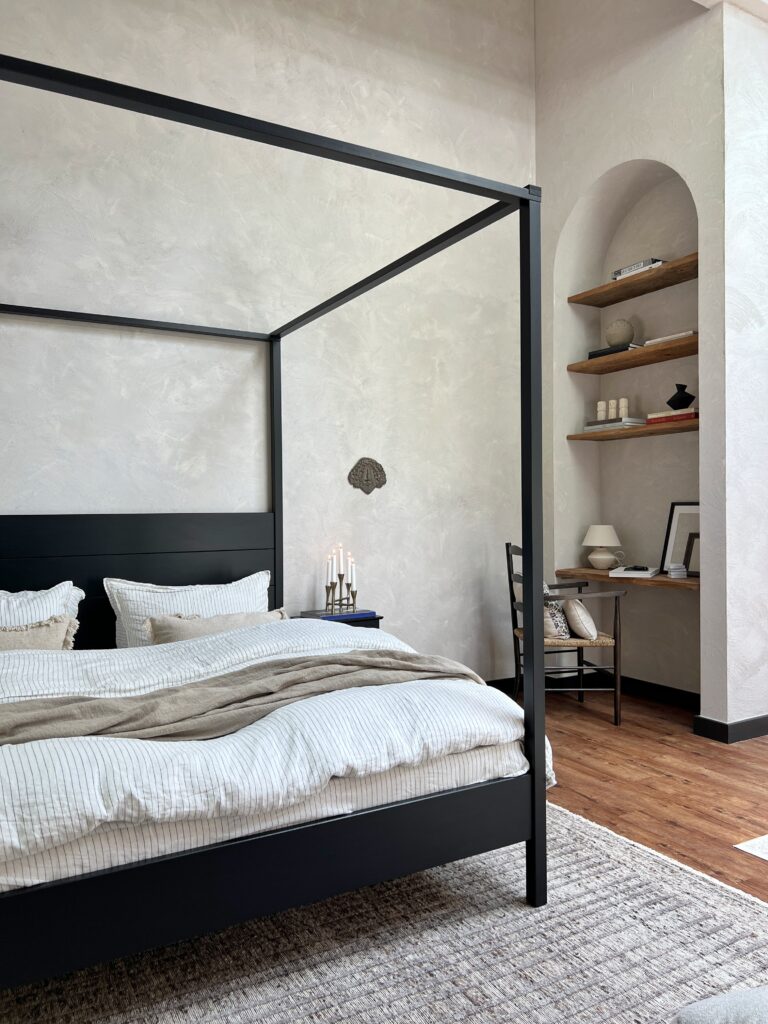
I have to be honest … I love how everything turned out and came together. It truly feels like you’re entering a luxury hotel for a nice weekend getaway, agree? To complement the high ceilings, I also worked with a high bed frame in guest room 1, as well as with a very large pendant lamp made out of silk from FLOS in guest room 2. That way, we broke up the height of the rooms a little bit while playing and using it correctly (so the proportions match).
Textured walls from the mineral plaster added warmth and depth to the high walls, as well as lots of personalized products such as the paintings from Kader Boly, and SISU Art. brought in a feeling of warmth. As the bathroom to guest room 1 is an en-suite bathroom, I wanted to add a special door. How boring would a normal door look like? My biggest worry was that the whole wall would have been destroyed by a boring, normal door. The sliding vintage barn doors were a no brainer here! I was in complete awe when I first saw them and still absolutely love them in this space.
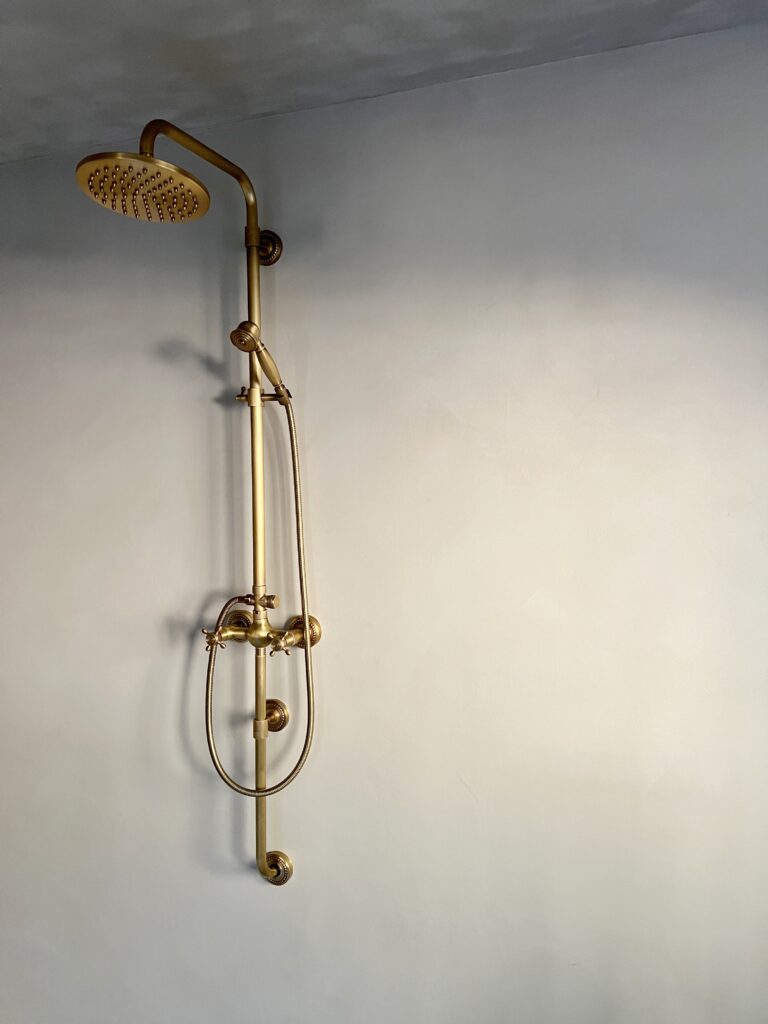
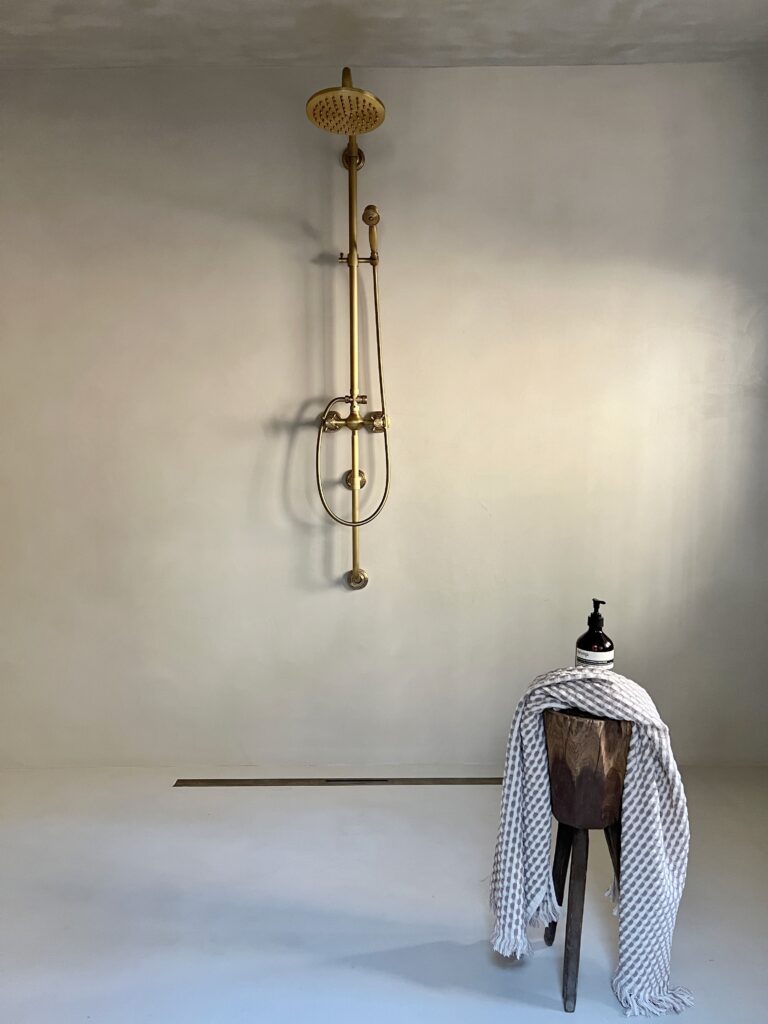
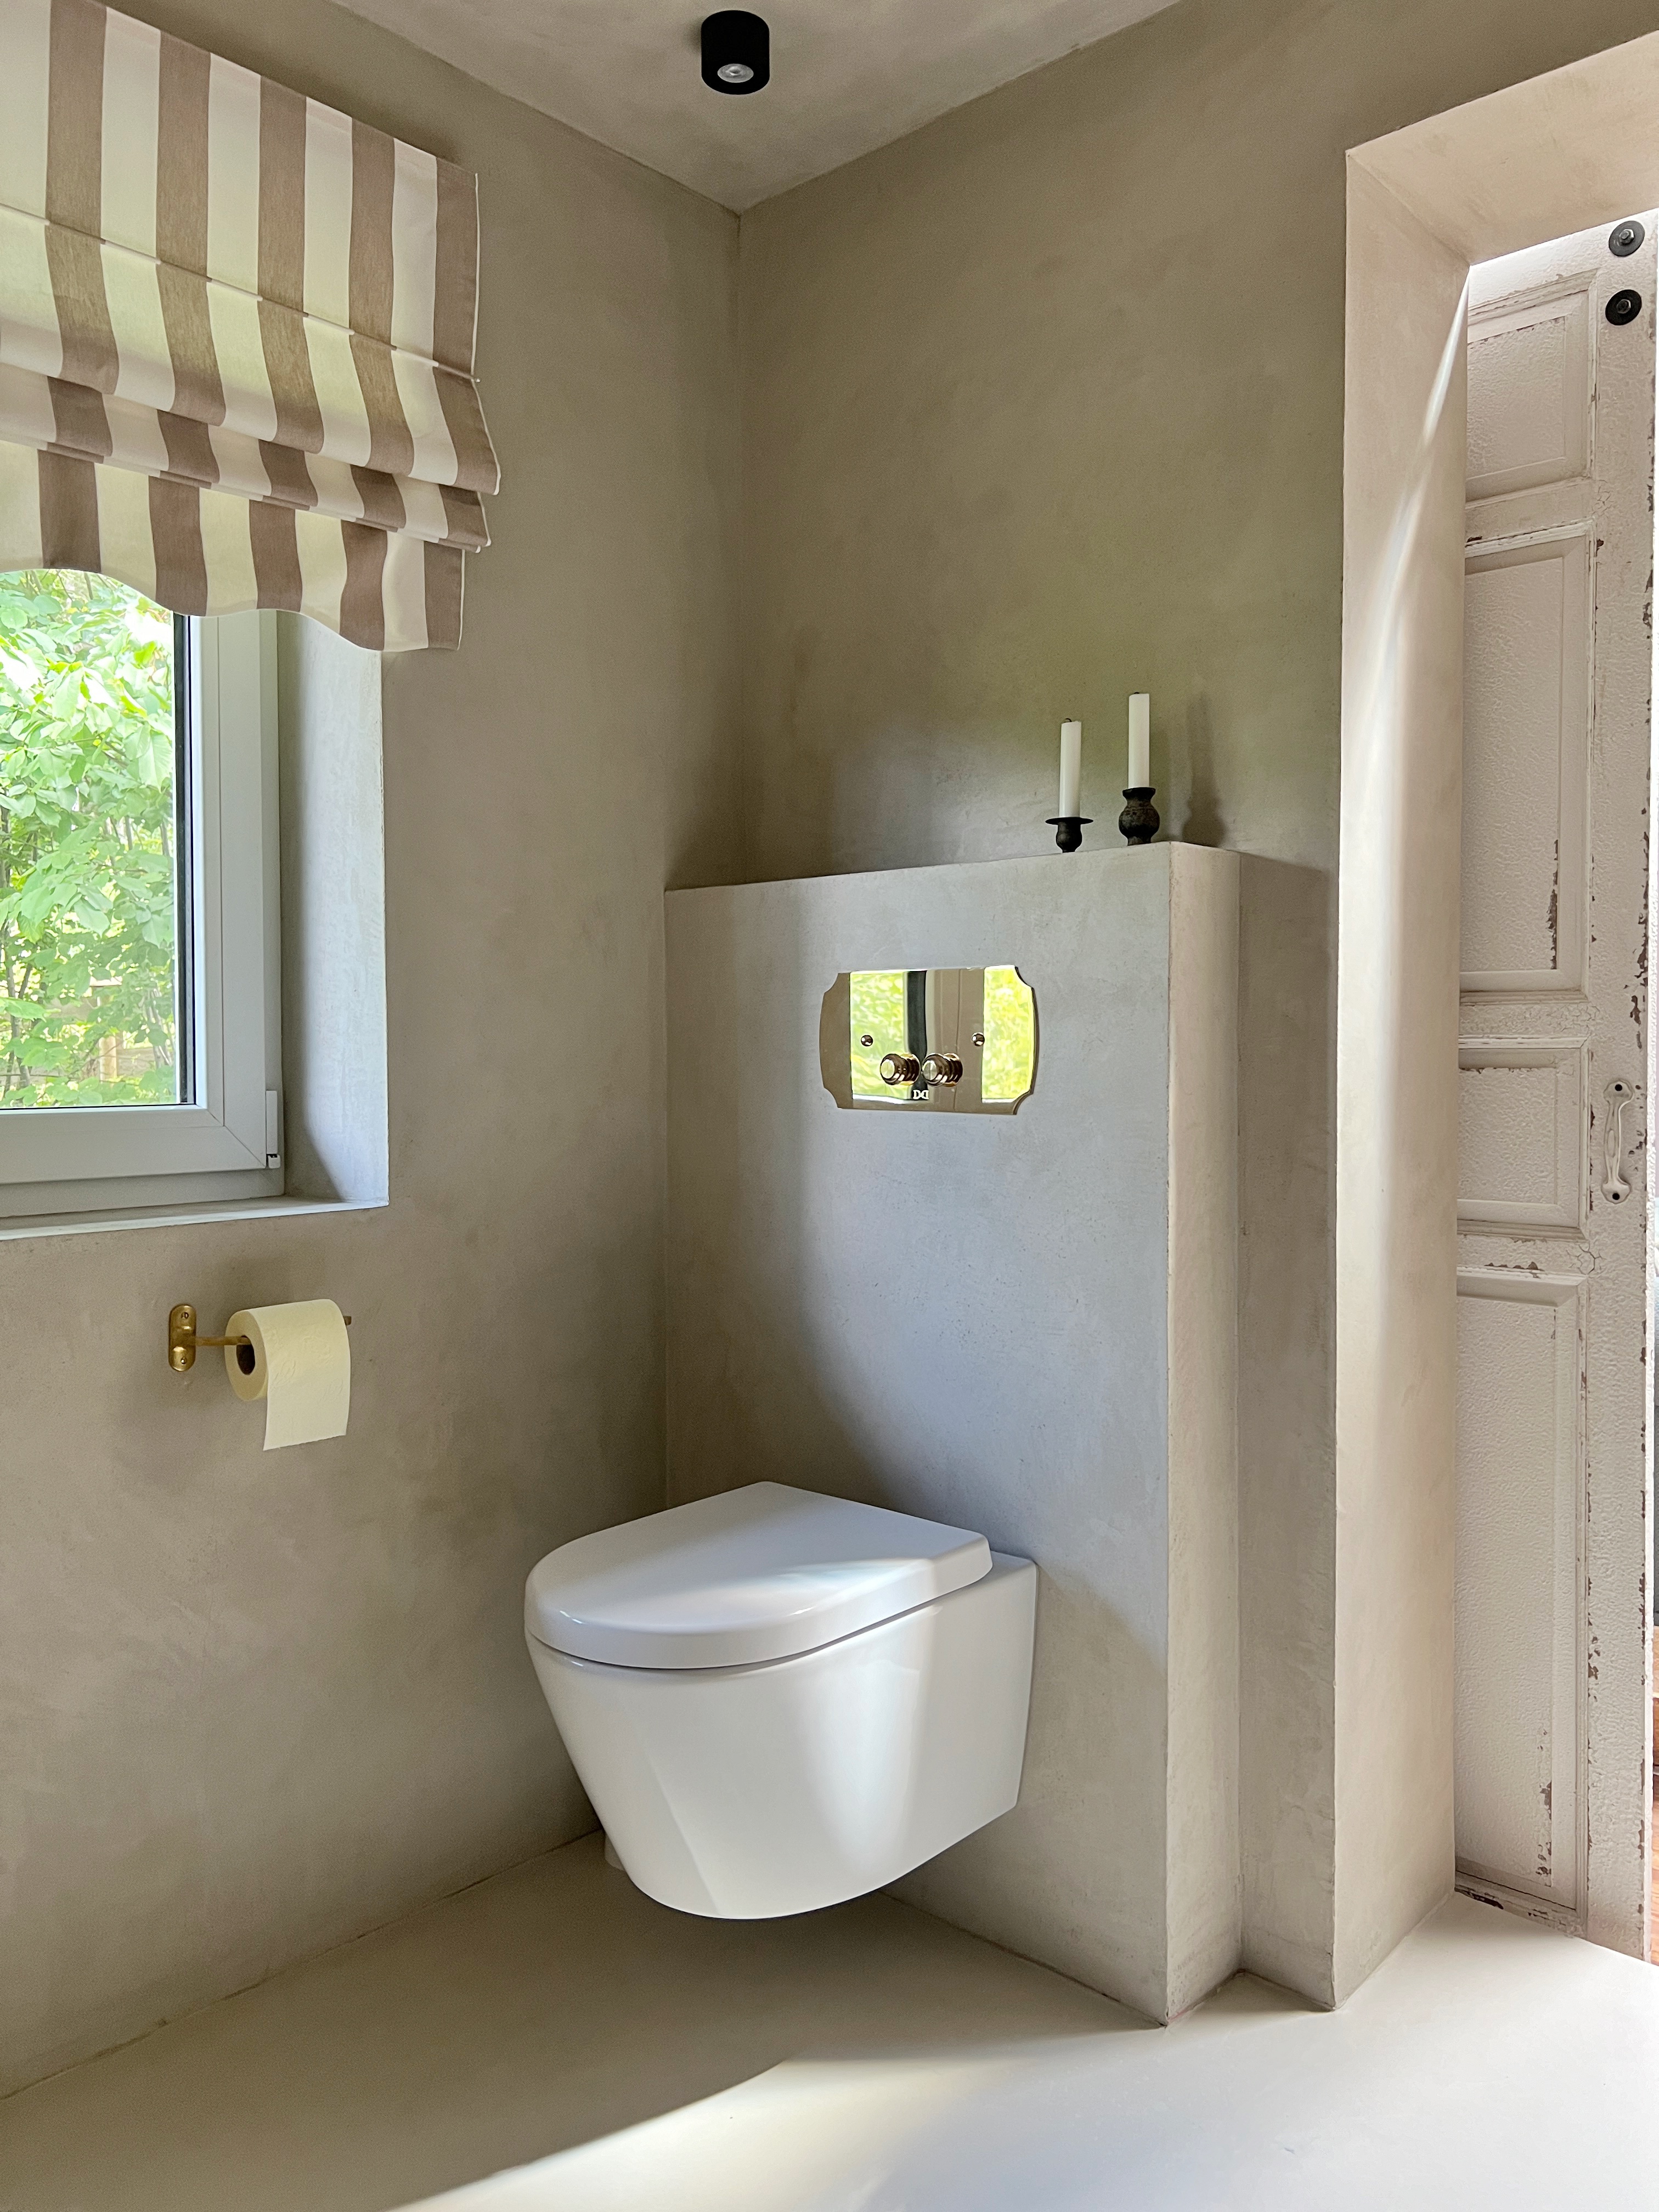
Both bathrooms were kept in mineral plaster and beton cir (micro cement) too. The mix of both of these products ensures that they keep hygienic all while being waterproof. Why I love micro cement bathrooms? Because you don’t have any disgusting or visible joints. The material feels like cashmere on your skin, is easy to clean and maintain, as well as it makes a room look soooo much bigger (ideal for the tiny bathrooms we have). But again, make sure to read the following blogpost on the bathrooms if you want to learn more here.
I think those are the most important things you need to know about Project Greenwood, to get a good overview, right? Please let me know if you have any further questions! I will also make sure to go into all the details in other blogposts.

